Setting Up VPN Connections On MikroTik Routers
A Virtual Private Network (VPN) is a technology that enables secure and private communication between two or more devices over the internet. VPNs are used by individuals and organizations to protect their sensitive information and online activities from prying eyes. In this post, we will discuss how to set up an L2TP VPN on a MikroTik router.
Why use L2TP VPN?
L2TP VPN (Layer 2 Tunneling Protocol) is a widely used protocol for implementing VPNs. It is a tunneling protocol that does not provide encryption. Therefore, it is often used in combination with other protocols such as IPSec, which provides encryption. L2TP VPN is relatively easy to configure and is supported by most devices, including Windows, macOS, iOS, and Android.
Step-by-Step Guide for Setting up an L2TP VPN on a MikroTik Router
Setting up an L2TP VPN on a MikroTik router involves several steps. We will discuss each step in detail below.
Step 1: Adding L2TP VPN Interface
The first step is to add an L2TP VPN interface to the MikroTik router. To do this, log in to the router's web interface and navigate to the "Interfaces" menu. Click on the "Add New" button and select "L2TP Client" from the dropdown menu.
In the "L2TP Client" configuration window, enter the following details:
- Remote Address: Enter the IP address or hostname of the VPN server.
- Remote ID: Enter the domain name or IP address of the VPN server.
- Use IPsec: Select "required" from the dropdown menu.
- IPSec Secret: Enter the shared secret for IPSec authentication.
- Profile: Select the default profile or create a new one.
Click on "Apply" to save the changes.
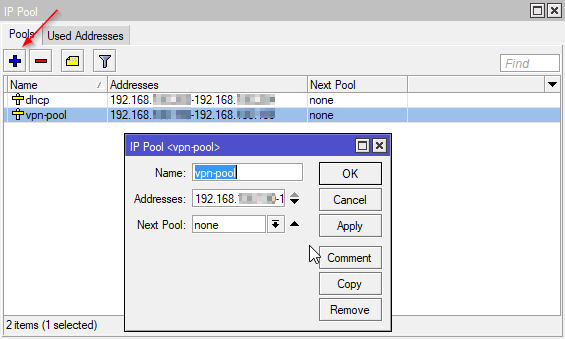
Step 2: Adding IPsec Peer
The second step is to add an IPSec peer to the MikroTik router. To do this, navigate to the "IP" menu, click on "IPsec," and then select "Peer." Click on the "Add New" button to create a new IPSec peer.
In the "IPSec Peer" configuration window, enter the following details:
- Address: Enter the IP address or hostname of the VPN server.
- Secret: Enter the shared secret for IPSec authentication.
- Policy Template Group: Select "default" from the dropdown menu.
- Exchange Mode: Select "main" from the dropdown menu.
- Nat Traversal: Select "force" from the dropdown menu.
Click on "Apply" to save the changes.
Step 3: Adding IPSec Proposal
The third step is to add an IPSec proposal to the MikroTik router. To do this, navigate to the "IP" menu, click on "IPsec," and then select "Proposal." Click on the "Add New" button to create a new IPSec proposal.
In the "IPSec Proposal" configuration window, enter the following details:
- Name: Enter a name for the IPSec proposal.
- Auth Algorithms: Select the authentication algorithm to use.
- Enc Algorithms: Select the encryption algorithm to use.
- Hash Algorithms: Select the hash algorithm to use.
- PFS Group: Select the PFS (Perfect Forward Secrecy) group to use.
Click on "Apply" to save the changes.
Step 4: Adding IPsec Policy
The fourth step is to add an IPSec policy to the MikroTik router. To do this, navigate to the "IP" menu, click on "IPsec," and then select "Policy." Click on the "Add New" button to create a new IPSec policy.
In the "IPSec Policy" configuration window, enter the following details:
- Src. Address: Enter the IP address of the MikroTik router.
- Dst. Address: Enter the IP address of the VPN server.
- Protocol: Select "all" from the dropdown menu.
- Level: Select "unique" from the dropdown menu.
- Proposal: Select the IPSec proposal created in step 3.
Click on "Apply" to save the changes.
Step 5: Adding Firewall Rules
The fifth and final step is to add firewall rules to the MikroTik router. To do this, navigate to the "IP" menu and click on "Firewall." Click on the "Add New" button to create a new firewall rule.
In the "Firewall Rule" configuration window, enter the following details:
- Action: Select "accept" from the dropdown menu.
- Chain: Select "input" from the dropdown menu.
- Protocol: Select "udp" from the dropdown menu.
- Dst. Port: Enter "1701" as the destination port.
Click on "Apply" to save the changes.
Conclusion
Setting up an L2TP VPN on a MikroTik router is a relatively easy process. By following the steps outlined in this post, you can ensure secure and private communication between your devices over the internet. Implementing a VPN is essential in today's world, where online privacy is increasingly under threat.
Post a Comment for "Setting Up VPN Connections On MikroTik Routers"