Simplified VPN Client Setup With MikroTik Routers A Step-by-Step Guide
Virtual Private Networks, commonly known as VPNs, have become an essential part of modern-day online security. They are used to establish secure and encrypted connections between remote clients and servers, thereby providing privacy, secrecy, and confidentiality to all traffic transmitted over the internet. One such VPN solution, which is highly versatile, affordable, and flexible, is PPTP (Point-to-Point Tunneling Protocol).
In this post, we explore the configuration of PPTP on a MikroTik router, connecting remote clients to the VPN. We will explain the process in detail, highlighting some of the important steps involved in configuring the PPTP connection.

Step 1: Create the PPTP Server
The first and most crucial step when configuring PPTP on a MikroTik router is to create the PPTP server. This server, which will serve as the endpoint to which remote clients can connect, is set up with the following configuration options:
- Enable PPTP Server: This option enables PPTP server on your MikroTik router. It is found under IP > PPTP Server > GENERAL
- Assigned Address: This setting defines the IP address pool that remote clients will use to connect to the PPTP server. It is created under IP > PPTP Server > PROFILE > DEFAULT > REMOTE ADDRESS
- Authentication Method: This option defines the user authentication method used by PPTP clients to connect to the server. There are several authentication methods available, including MS-CHAP, MS-CHAPv2, and PAP. It is set under PPP > PROFILE > YOUR_PROFILE_NAME > PPP AUTHENTICATION
- Local Address: This setting defines the IP address that the PPTP server will use on its interface. It is set under IP > POOL > YOUR_POOL_NAME > ADDRESS
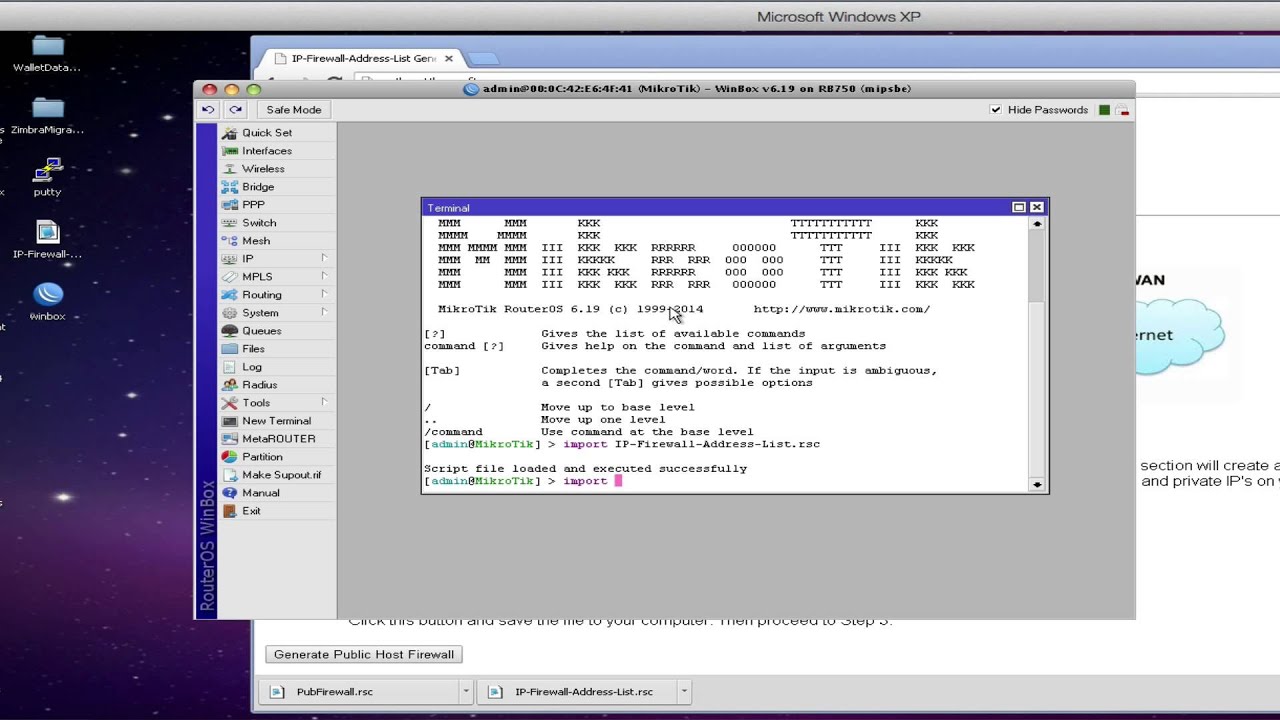
Step 2: Configure Your Firewall for PPTP
The next step in setting up your PPTP connection is to configure your router's firewall to allow PPTP traffic. Here are some of the basic steps to follow:
- Allow PPTP Traffic: To enable PPTP traffic through the MikroTik router's firewall, navigate to IP > Firewall > FILTER RULES > ADD NEW and add a new rule that allows PPTP traffic
- NAT the PPTP Traffic: To enable connections from remote clients to internal network resources, it is necessary to configure a source NAT rule. The rule should be created under IP > FIREWALL > NAT and should translate the source address of the PPTP clients to the router's public-facing IP address
Step 3: Configure PPP Settings for PPTP
The next step in configuring your PPTP connection on the MikroTik router is to set up the PPP settings. These settings include a number of critical options that determine how the PPTP connection will be established. Some of the important PPP settings include:
- Authentication Method: This setting determines how clients will authenticate themselves when connecting to the PPTP server. It can be set to either MS-CHAP or MS-CHAPv2 (preferred) under PPP > PROFILE > YOUR_PROFILE_NAME > PPP AUTHENTICATION and should be set to match the settings on the client machines.
- Encryption: This option sets up the encryption method used for the PPTP connection. It can be set to either PPTP or SSTP and is configured under PPP > PROFILE > YOUR_PROFILE_NAME > ENCRYPTION
- Compression: This setting determines whether compression is used on data traffic sent over the PPTP connection. It is disabled by default, but it can be enabled under PPP > PROFILE > YOUR_PROFILE_NAME > INTERNAL FIREWALL
Step 4: Create PPTP Users for the VPN Connection
The final step in configuring your PPTP VPN connection is to create user accounts for the remote clients who will be connecting to the PPTP server. These accounts should be created under System > Users > ADD NEW and should include a username and a password. The user accounts should then be granted permissions to connect to the PPTP server and to access the internal network resources using the PPTP connection.
Conclusion
In conclusion, configuring a PPTP VPN connection on a MikroTik router is a straightforward process that can be accomplished by following a few simple steps. Once the PPTP server has been created, your firewall is configured, PPP settings have been set, and PPTP users created, you can enjoy a secure and encrypted VPN connection that will ensure the safety and privacy of your internet traffic. Additionally, the versatility and flexibility of MikroTik routers ensure that you can tailor the configuration of your PPTP VPN connection to meet your needs, making them an ideal choice for anyone in search of a reliable and secure VPN solution.


Post a Comment for "Simplified VPN Client Setup With MikroTik Routers A Step-by-Step Guide"