Configuring MikroTik Router As A Proxy Server Best Practices
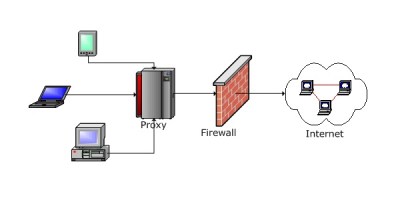
Proxy servers can serve as an intermediary between your computer and the internet. In other words, they can transmit your internet requests to the internet on your behalf, allowing you to access desired web pages in a more secure and private way. But how can you configure it on your router? Well, today we will explore the steps to configure a web proxy on MikroTik router.

What is MikroTik Router?
MikroTik router is a popular router used by internet service providers and network administrators. It is widely used due to its reliability, superior performance and affordability. Unlike standard routers, the MikroTik Router OS offers a more advanced configuration system making it a better choice for businesses and organizations.
Why Use a Web Proxy?
Nowadays, online surveillance and privacy concerns are on the rise. Many entities have access to your private browsing data, including your internet service provider and government agencies. Using a web proxy allows you to protect your data and stay anonymous on the web.
Step by Step Guide to Configuring the MikroTik Router Web Proxy
To begin configuring the MikroTik Router web proxy, follow these simple steps:
Step 1: Access the Router
Firstly, ensure that you have the correct IP address, username, and password for your MikroTik router. Once you have these details, enter them into your web browser and wait for the login page to load.
Step 2: Navigate to the 'Web Proxy' Tab
Once you have logged in, navigate to the 'Web Proxy' tab that is located on the left-hand side of the screen. Click on the tab to expand it.
Step 3: Enable the Web Proxy
Click on the 'enable' button that is located next to the Web Proxy label. This will activate the proxy service on your router.
Step 4: Configure the Web Proxy Settings
After enabling the proxy service, configure the proxy settings as follows:
- Set the 'Proxy Address' to 0.0.0.0
- Set the 'Proxy Port' to 8080
- Set the 'Max Cache Size' to 4096KiB
- Set the 'Max Cache Object Size' to 512KiB
Step 5: Configure Access Lists
A proxy server can be configured to restrict access to certain websites using access lists. To configure access lists, simply click on the 'Access' tab and then 'Add New' to create a new access list.
Step 6: Configure NAT Rules
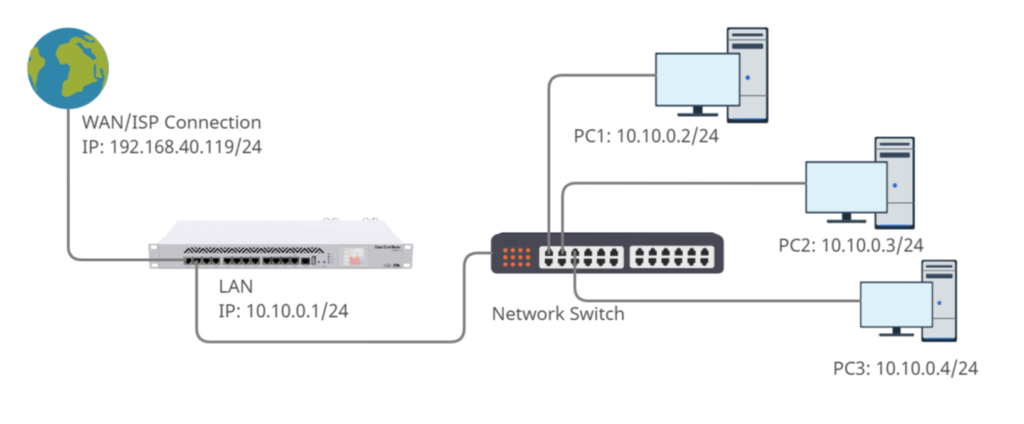
The last step in configuring MikroTik Router web proxy is to set up NAT rules. This step involves redirecting proxy requests from your client machines to the router.
To set up NAT rules, follow these instructions:
- Click on the 'IP' tab which is located on the left side of the screen.
- Select the 'Firewall' tab which is located under the 'IP' tab.
- Select the 'NAT' tab, 'Add New' and then configure your NAT rule.
Conclusion
Configuring a web proxy on a MikroTik router is crucial when it comes to online privacy and security. The process is easy, requiring only a few simple steps. Once configured, your data will be encrypted and you will be able to access the internet privately and securely.
So, whether you are an internet service provider, a network administrator, or a regular user, the MikroTik Router web proxy is a powerful tool that can improve your online experience. Why not try it out? Your online privacy and security will be much better off.


Post a Comment for "Configuring MikroTik Router As A Proxy Server Best Practices"