Exploring MikroTik RouterOS VPN Configuration
If you're looking for guidance on how to configure your MikroTik router, you've come to the right place. We've compiled a comprehensive guide to help you get started.

First and foremost, it's important to understand that your MikroTik router can be configured in a variety of ways depending on your specific needs and preferences. Some of the basic functions that you can perform with this router include:
- Setting up wireless access for your devices
- Configuring your router to act as a firewall
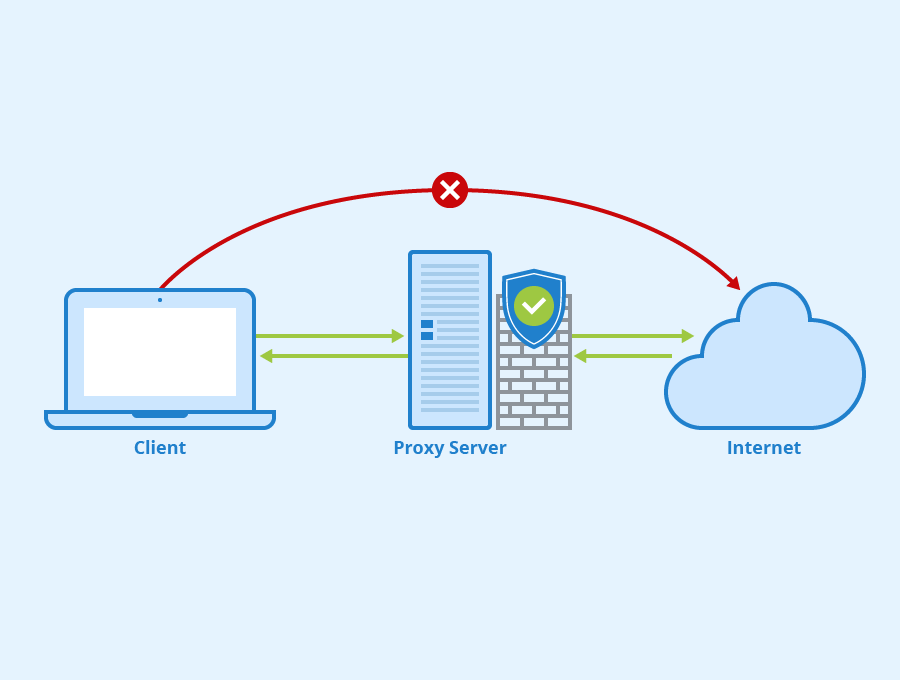
- Setting up VPN services for secure browsing when using public Wi-Fi networks
- Limiting bandwidth usage for specific devices or applications
- Configuring a network bridge between two or more routers
Before we dive into the specifics of configuring your MikroTik router, it's important to note that there are several things that you should have in place. These include:
- Your MikroTik router
- An Ethernet cable to connect your router to your computer
- A computer with web browser such as Chrome or Firefox
- Basic understanding of IP addressing and routing
Step-by-Step Configuration Process
Now that we've covered the basics, let's dive into the step-by-step configuration process:
Step 1: Access your MikroTik router
Before you can start configuring your MikroTik router, you need to access its user interface. To do this, connect an Ethernet cable from your computer to one of the Ethernet ports on the router. Then, open your web browser and type the IP address of your router into the address bar.
The default IP address of your MikroTik router is usually 192.168.88.1. If this doesn't work, try typing your router's IP address followed by ':80' (e.g. 192.168.88.1:80).
Once you've entered your router's IP address, press Enter. You should be prompted to enter your router's username and password.
Step 2: Configure your router
Once you've logged in to your router's user interface, it's time to start configuring it. One of the first things you should do is change the default username and password for your router to something more secure.
To do this, go to the 'System' menu on the left-hand side of the screen, then select 'Passwords' from the dropdown menu. From there, you can change both your username and password.
Next, you'll want to configure your wireless access point. To do this, go to the 'Wireless' menu on the left-hand side of the screen and select 'Wireless Interfaces'. From there, you can create a new wireless network by clicking 'Add new'.
You'll need to enter a name for your wireless network, select a frequency band, and optionally set a password. You can also configure other advanced settings such as transmit power and data rate.
Once you've set up your wireless network, you can move on to configuring your firewall. To do this, go to the 'IP' menu on the left-hand side of the screen and select 'Firewall'. From there, you can view your firewall rules and create new ones as needed.
You can also configure VPN services for your MikroTik router. Go to the 'PPP' menu on the left-hand side of the screen and select 'Profiles'. From there, you can create a new profile and configure VPN settings such as protocols and authentication methods.
Step 3: Set up bandwidth limits
If you want to limit bandwidth usage for specific devices or applications, you can do so using the MikroTik router's Quality of Service (QoS) features. To do this, go to the 'Queues' menu on the left-hand side of the screen and select 'Simple Queues'. From there, you can create a new queue and specify bandwidth limits for specific devices or applications.
Step 4: Create a network bridge
If you need to create a network bridge between two or more routers, you can do so using the MikroTik router's bridge features. To do this, go to the 'Bridge' menu on the left-hand side of the screen and select 'Bridge'. From there, you can create a new bridge and add interfaces to it.
Tips for Configuring Your MikroTik Router
Configuring your MikroTik router can be a complex process, but there are several tips that can help make the process easier:
- Take the time to understand how different settings and configurations affect your router and network
- Use the 'Undo' feature in your router's user interface to revert changes if something goes wrong
- Use the 'Terminal' feature in your router's user interface to execute commands and perform advanced configurations
- Consult online resources such as forums and documentation to get help with specific issues or scenarios
- Back up your router's configuration regularly to ensure you can easily restore it if necessary
By following these tips and the step-by-step configuration process outlined above, you'll be well on your way to configuring your MikroTik router like a pro.
Remember that configuring a MikroTik router can be challenging for those without experience, so it’s best to go through this process with someone who can help. Following these steps and tips will help ensure that your router is configured in the most secure way possible. By taking the time to properly set up your router, you can enjoy fast, reliable internet access for all of your devices.


Post a Comment for "Exploring MikroTik RouterOS VPN Configuration"