Maximizing Proxy Performance With MikroTik RouterOS Caching
Today, we will discuss a crucial topic for those who are looking to increase the efficiency and performance of their network – the creation of an external proxy in Mikrotik using RouterOS Mikrotik. This is an essential topic, as it enables network administrators to manage their resources, and distribute the data, effortlessly.

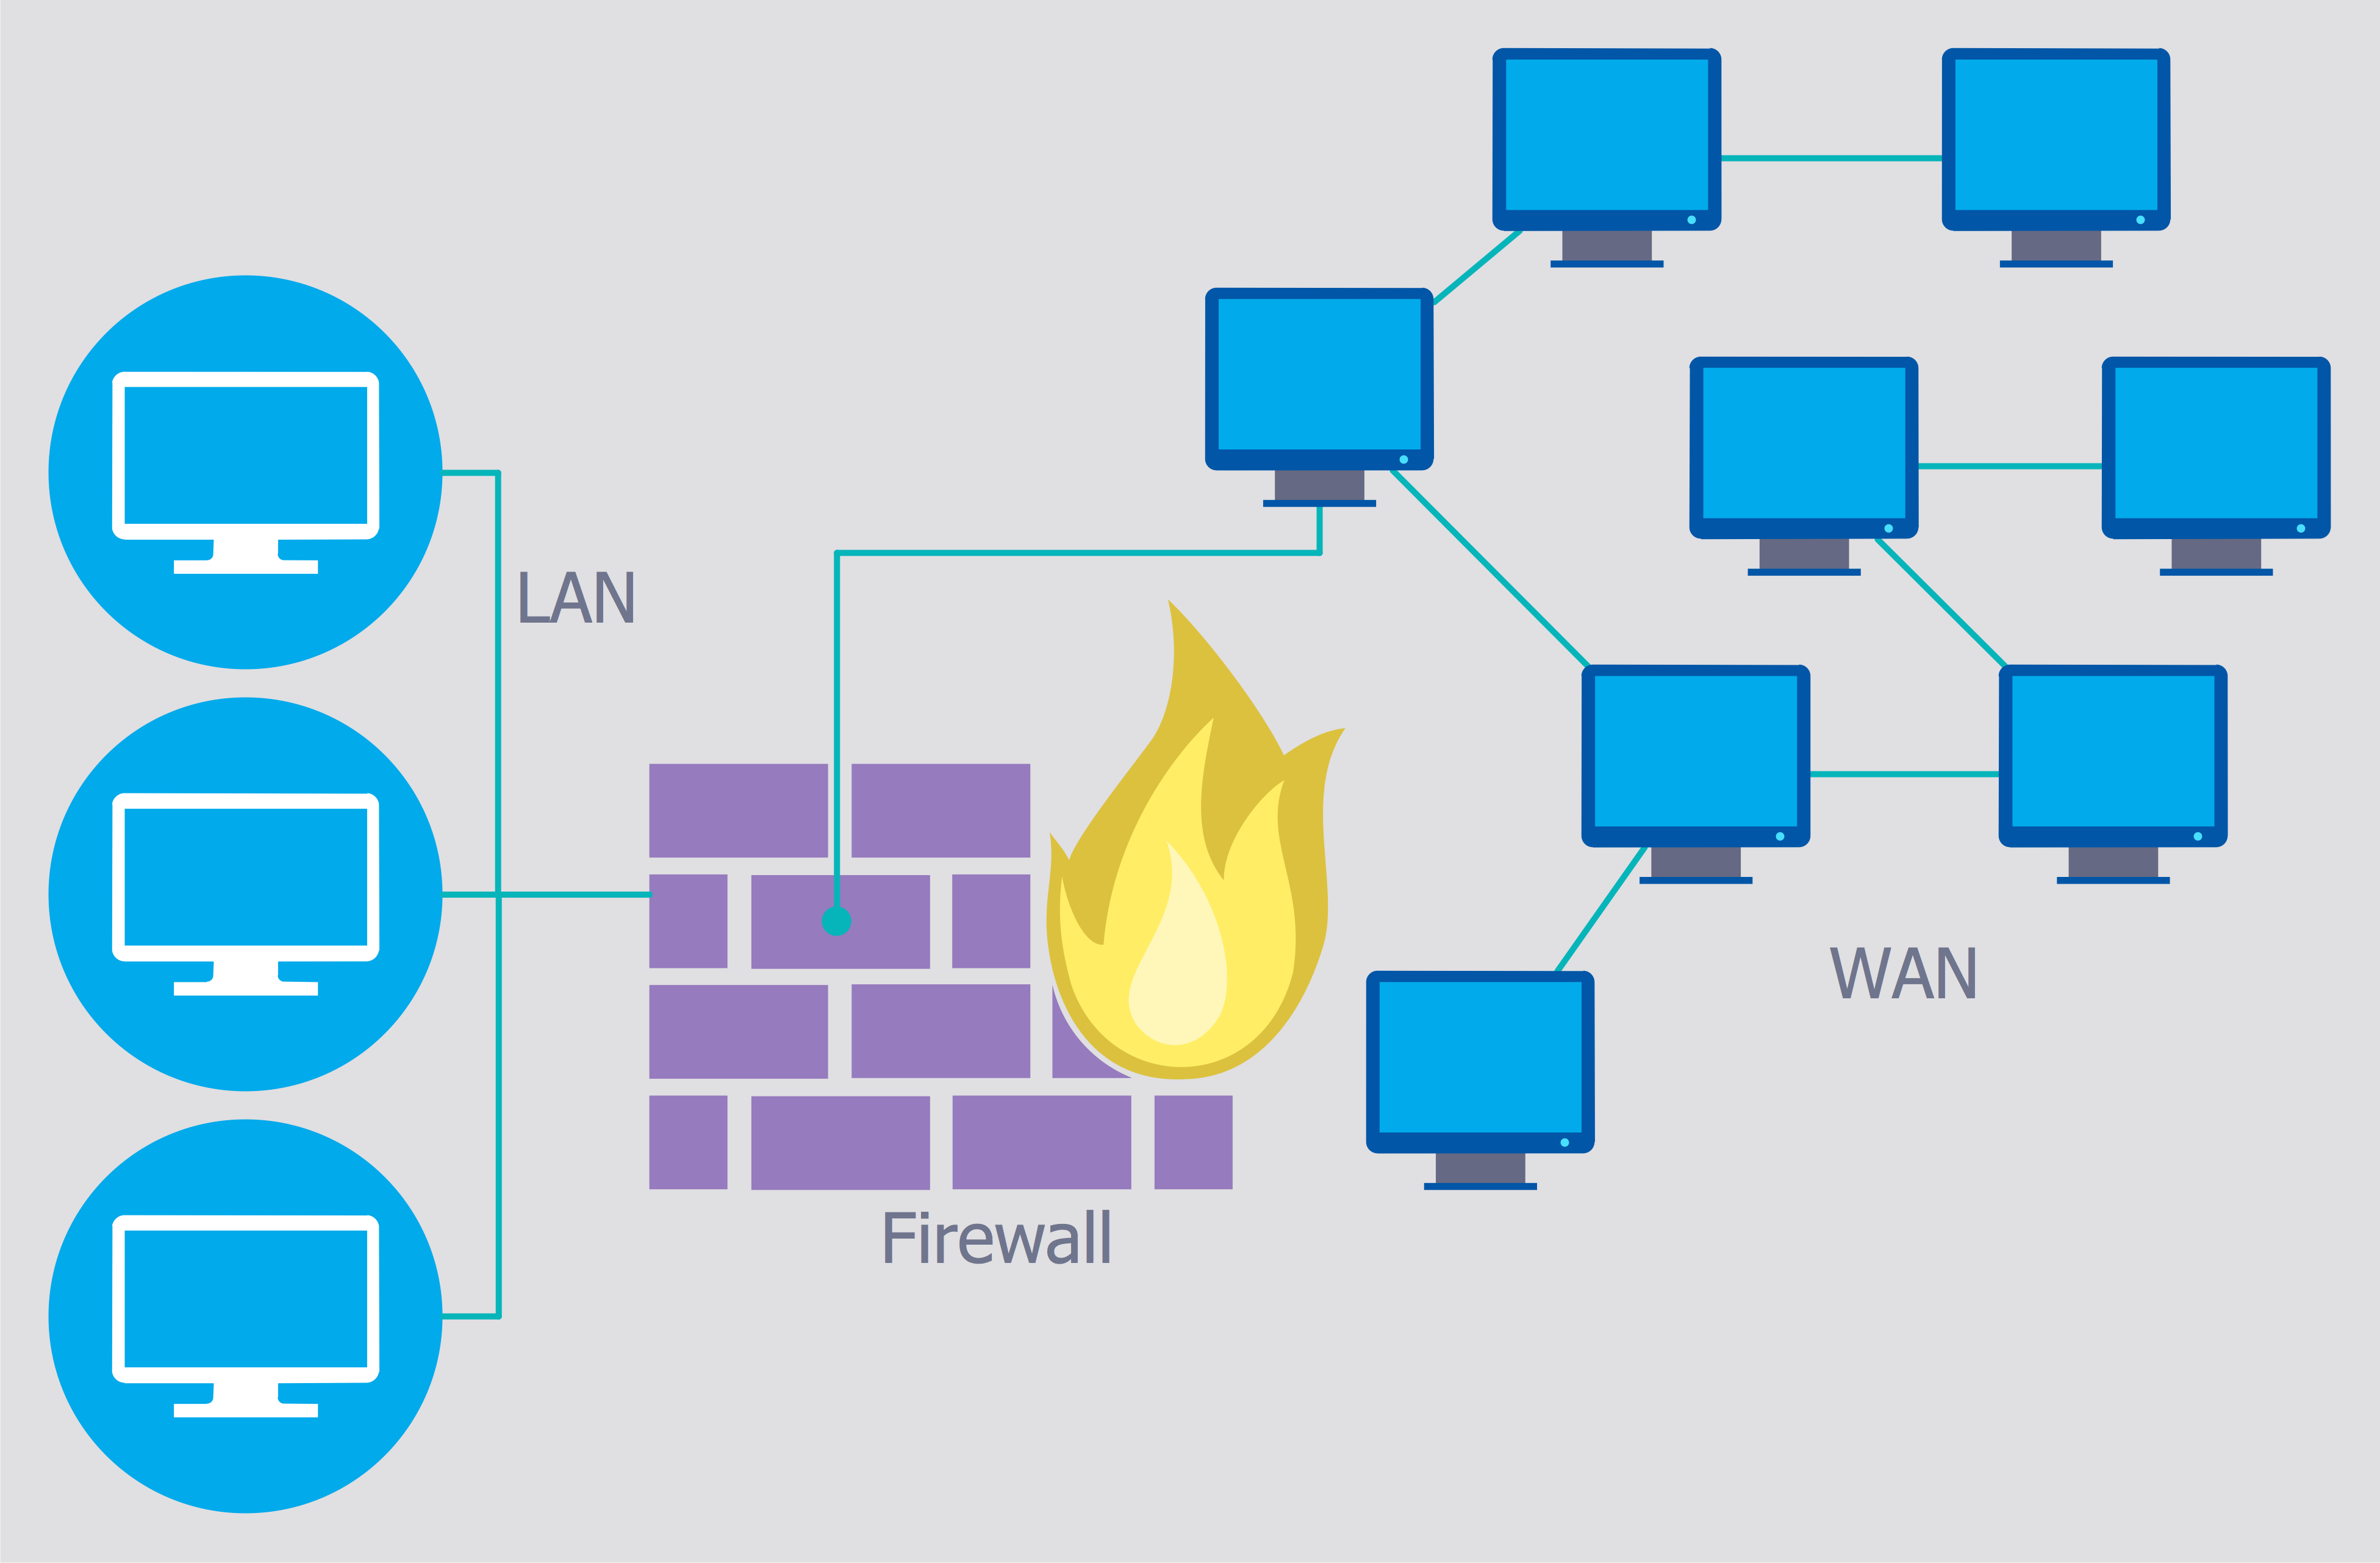
Before we dive into the technical details, let us understand the concept of an external proxy. In simple terms, an external proxy refers to a server located outside the network and manages all the data requests on behalf of the clients. The server then sends the requested data back to the clients. This process ensures that the network performance is optimized, as the server can handle more requests than the clients, thus reducing their workload.
Process of Creating External Proxy in Mikrotik using RouterOS Mikrotik
The process of creating an external proxy in Mikrotik using RouterOS Mikrotik is straightforward and easy to follow. We have divided it into several points to help you with the process:
Step 1: Setting up the RouterOS Mikrotik
The first step is to set up the RouterOS Mikrotik. This process involves configuring the basic settings of the router, such as the IP address, gateway, subnet mask, and DNS server. Once the RouterOS Mikrotik is set up, you can proceed to the next step.
Step 2: Installing the Proxy Server Package
The next step involves installing the proxy server package. To do so, follow these steps:
- Log in to the RouterOS Mikrotik using the Winbox application.
- Navigate to the 'System' menu and select 'Packages.'
- Click on the 'Available Packages' tab and search for 'Web Proxy'.
- Select the 'Web Proxy' package and click on the 'Install' button.
Once the installation is complete, proceed to the next step.
Step 3: Configuring the Proxy Server
The next step involves configuring the proxy server. To do so, follow these steps:
- Navigate to the 'IP' menu and select 'Web Proxy.'
- Click on the 'Settings' tab and configure the following settings:
- Port number: Enter the port number on which the proxy server will listen to requests.
- Cache size: Enter the amount of space you want to allocate for caching files.
- Max cache object size: Enter the maximum size of the cached file.
- Cache on disk: Check this option to enable caching on the disk.
- Click on the 'Access' tab and configure the following settings:
- Allowed address: Enter the IP address of the devices that are allowed to access the proxy server.
- Forbidden address: Enter the IP address of the devices that are not allowed to access the proxy server.
- Proxy ARP: Check this option to enable proxy ARP on the network.
- Click on the 'Proxy' tab and configure the following settings:
- Transparent proxy: Check this option to enable transparent proxy.
- Caching proxy: Check this option to enable the caching proxy.
- Parent proxy: Enter the IP address and port number of the parent proxy, if any.
Once the configuration is complete, proceed to the next step.
Step 4: Configuring the Firewall
The next step involves configuring the firewall to redirect all the HTTP requests to the proxy server. To do so, follow these steps:
- Navigate to the 'IP' menu and select 'Firewall.'
- Click on the 'NAT' tab and click on the '+' button to add a new rule.
- Configure the following settings:
- Chain: Select the 'dstnat' chain.
- Protocol: Select the 'tcp' protocol.
- Dst. port: Enter '80', which is the default port for HTTP requests.
- Action: Select the 'dst-nat' action.
- To addresses: Enter the IP address of the RouterOS Mikrotik.
- To ports: Enter the port number on which the proxy server is listening to requests.
- Click on the 'Action' tab and configure the following settings:
- Action: Select the 'masquerade' action.
Once the configuration is complete, proceed to the next step.
Step 5: Testing the External Proxy
The final step involves testing the external proxy. To do so, follow these steps:
- Open a web browser on a device that is allowed to access the proxy server.
- Enter the IP address of the RouterOS Mikrotik in the address bar.
- Enter the port number on which the proxy server is listening to requests after the IP address, separated by a colon (':').
- For example, if the IP address of the RouterOS Mikrotik is '192.168.1.1' and the proxy server is listening on port '8080', enter '192.168.1.1:8080' in the address bar.
- If everything is configured correctly, the web browser should display the default Mikrotik proxy login page.
That's it! You have successfully created an external proxy in Mikrotik using RouterOS Mikrotik.
Conclusion
The creation of an external proxy in Mikrotik using RouterOS Mikrotik is a straightforward process. It involves setting up the RouterOS Mikrotik, installing the proxy server package, configuring the proxy server, configuring the firewall, and testing the external proxy. Once you have set up the external proxy, you can manage your network resources, distribute data, and optimize your network performance effortlessly.


Post a Comment for "Maximizing Proxy Performance With MikroTik RouterOS Caching"