Optimizing MikroTik Proxy Cache For Efficient Content Filtering
Hey there, fam. Today, we're talking about MikroTik Web Proxy and Proxy Filtering. We found some information that we think will be useful, and we want to break it down for you.

If you're not already familiar, MikroTik is a Latvian company that provides networking equipment, including routers, switches, and wireless systems. One of the features they offer is a built-in web proxy, which can be used for caching and filtering internet traffic.
So what is a web proxy? Essentially, it acts as an intermediary between your device and the internet. When you make a request for a website, the web proxy intercepts that request and sends its own request to the website. The website responds to the web proxy, which then sends the data back to your device.
There are a few reasons you might want to use a web proxy:
- Caching: When the web proxy intercepts a request, it can store a copy of the website's data on its own servers. That means the next time you request the same website, the web proxy can simply serve up the cached version instead of making a new request. This can speed up browsing and reduce the load on your network.
- Filtering: Because the web proxy intercepts all requests, it can also be used to filter traffic. For example, you might want to block access to certain websites or types of content, or allow access only during certain times of day. The web proxy can be configured to enforce these rules.
Now, let's get into the specifics of using MikroTik's web proxy and filtering features.
Setting Up the Web Proxy
The first step is to enable the web proxy on your MikroTik router. You can do this using the following command in the terminal:
/ip proxy set enabled=yes
That's it! The web proxy is now enabled and will start caching and filtering traffic.
Configuring the Web Proxy
To configure the web proxy, you'll need to access the router's web interface. Open up your web browser and navigate to the router's IP address (usually 192.168.88.1).
From there, go to IP > Web Proxy. Here, you can configure a variety of settings for the web proxy, including:
- Cache Settings: You can configure how much disk space the cache can use, how long data is stored in the cache, and whether or not to cache SSL (https) traffic.
- Access Settings: Here, you can define which clients are allowed to use the web proxy, and whether or not to require authentication.
- Logging and Statistics: If you want to keep track of which websites are being accessed through the web proxy, you can enable logging and view statistics.
Filtering Traffic with the Web Proxy
Once the web proxy is enabled and configured, you can start filtering traffic. There are a few ways to do this.
Blocking Websites
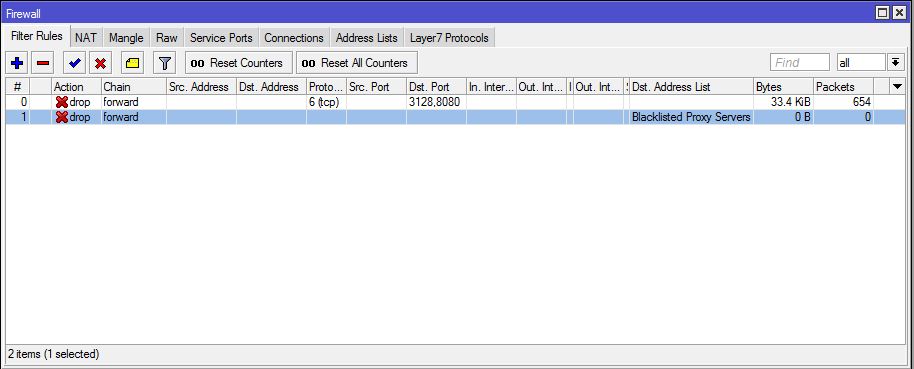
To block access to specific websites, you can use the web proxy's access control list (ACL). Go to IP > Web Proxy > Access and click Add to create a new ACL rule.
In the Addresses field, enter the website's domain name or IP address. In the Action field, select Deny.
That's it! From now on, any requests to that website will be blocked.
Blocking Content Types
If you want to block access to certain types of content (such as video or audio), you can do so using the web proxy's content filtering feature. Go to IP > Web Proxy > Access > Content and click Add to create a new rule.
In the Content Type field, select the type of content you want to block (such as Video or Audio). In the Action field, select Deny.
Now, any requests for that type of content will be blocked.
Filtering by Time
If you want to restrict access to certain websites or content during certain times of day, you can use the web proxy's scheduler. Go to IP > Firewall > Scheduler and click Add to create a new schedule.
In the Start Time and Stop Time fields, enter the times during which you want to restrict access. In the Action field, select Web Proxy and then select the ACL you want to apply during those times.
Now, the web proxy will only allow access to the specified websites or content during the designated times.
Conclusion
And there you have it, folks! MikroTik's web proxy and filtering features can be powerful tools for managing internet traffic on your network. Whether you're looking to speed up browsing with caching or restrict access to certain websites, the web proxy has you covered.
Do you have any experience using MikroTik's web proxy? Share your thoughts with us in the comments!


Post a Comment for "Optimizing MikroTik Proxy Cache For Efficient Content Filtering"