Securing Internet Traffic With MikroTik Routers And VPN
When it comes to securing your online connections and protecting your privacy, having a reliable VPN is the way to go. VPNs (Virtual Private Networks) are an effective way to protect your sensitive information and keep your online activity hidden from prying eyes. In this post, we'll walk you through how to route traffic to VPN on Mikrotik, so you can enjoy a more secure online experience.
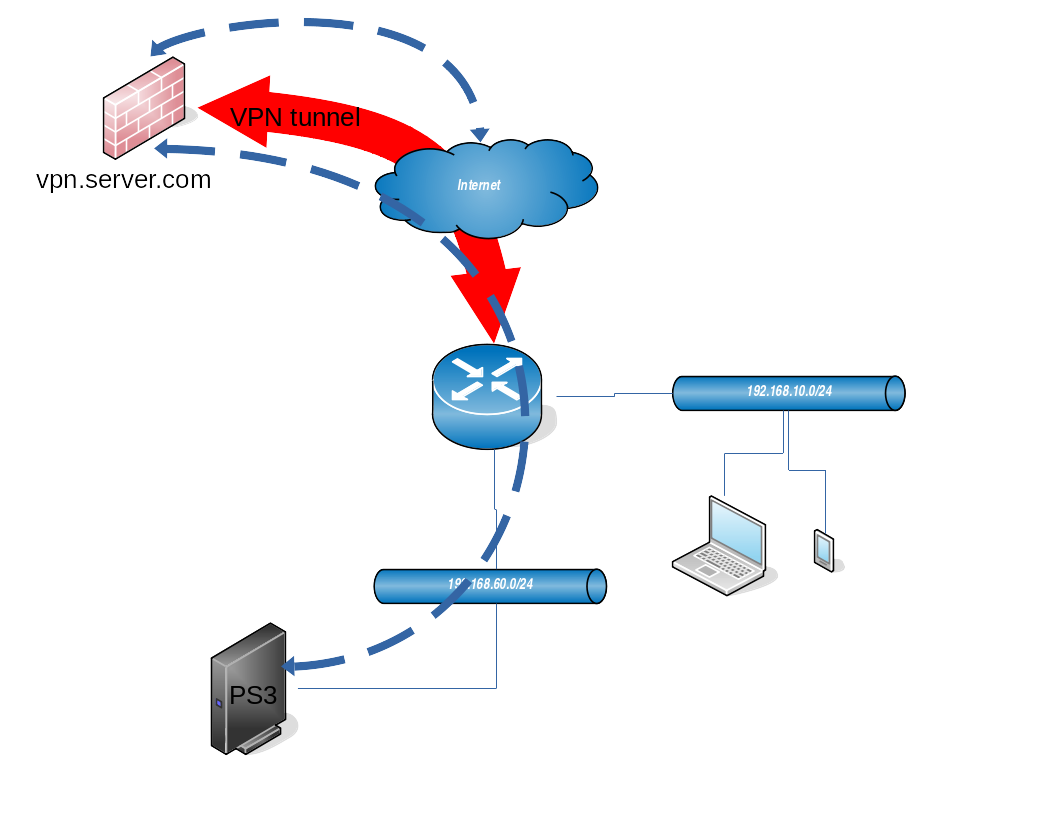
The Mikrotik router is a popular hardware device for network administrators. With its simple and user-friendly interface, it provides a wide range of features and functionalities, including VPN support. By routing traffic through a VPN, you can ensure that your online activities stay private and secure, even when using public Wi-Fi networks.
Before we get into the details of how to set up a Mikrotik VPN, let's take a look at some of the benefits of using a VPN.
Benefits of Using a VPN
1. Protect Your Privacy
When you're connected to the internet, your online activities can be tracked by anyone who has access to your network. This includes your ISP (Internet Service Provider), the websites you visit, and even hackers. By using a VPN, you can encrypt your online traffic and keep your sensitive information hidden from prying eyes.
2. Access Geo-Restricted Content
Many countries have strict rules and regulations when it comes to accessing certain websites and online services. With a VPN, you can bypass these restrictions and access content that may be blocked in your region.
3. Secure Your Connections
Using a VPN can help protect your online connections from hacking attempts and other security threats. This is especially important when using public Wi-Fi networks, which are often less secure than private networks.
How to Route Traffic to VPN on Mikrotik
Now that you understand the benefits of using a VPN, let's take a look at how to set one up on your Mikrotik router.
1. Open the Mikrotik RouterOS and navigate to the IP menu on the left-hand side of the screen. From there, click on the firewall option.
2. Click on the NAT tab and then on the add button to create a new NAT rule.
3. Select the chain as srcnat and the out interface as the one you want to use for your VPN.
4. In the action tab, select the action as masquerade and then click on the action tab and select the action as mark routing and add a new route.
5. In the mark routing tab, enter a name for your new route and select the VPN you want to use from the routing mark dropdown.
6. Click on the apply button to save your changes.
Your Mikrotik router is now set up to route traffic to your VPN. You can now connect to your VPN and enjoy a more secure online experience.
Conclusion
Using a VPN is an effective way to protect your privacy and keep your online activity hidden from prying eyes. By following the steps outlined in this post, you can easily set up a VPN on your Mikrotik router and enjoy all the benefits that come with it. Stay safe and secure online!


Post a Comment for "Securing Internet Traffic With MikroTik Routers And VPN"