Optimizing VPN Throughput On MikroTik RouterOS Best Practices
In today's world, having a secure and reliable network is crucial to the success of any business. One way to ensure the security of your network is by setting up a VPN connection. VPN (Virtual Private Network) is a technology that allows a secure connection between two or more networks over the internet. In this article, we will be discussing MikroTik Site to Site SSTP VPN setup with RouterOS Client – a secure and easy-to-use solution for small and medium-sized businesses.
Details
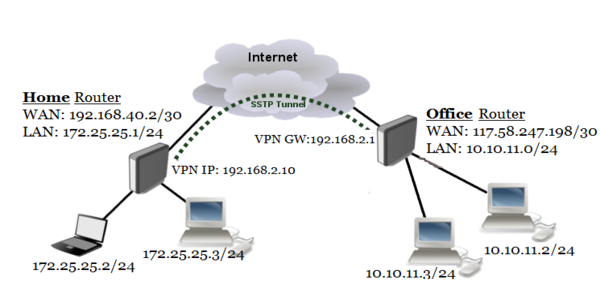
MikroTik RouterOS is an operating system that can turn a standard PC or MikroTik RouterBOARD hardware into a powerful router, firewall, or hotspot system. The RouterOS can also run a VPN client and server. In our example, we will be setting up an SSTP (Secure Socket Tunneling Protocol) VPN between two MikroTik routers.
The SSTP is a VPN tunnel that uses SSL (Secure Socket Layer) for encryption and is built into Microsoft operating systems, making it a popular choice for Windows-based networks. The SSTP is also available on other operating systems, including Linux and macOS, using third-party software.
Here are the steps to set up MikroTik Site to Site SSTP VPN:
Step 1: Configure IP addresses and routes
Before setting up the VPN, we must ensure that the two networks we want to connect are not using the same IP address range. We can do this by assigning different IP address ranges to each network.
For example, if the two networks have IP addresses 192.168.1.0/24 and 192.168.2.0/24, respectively, we can assign the IP addresses 192.168.10.0/24 and 192.168.20.0/24 to them.
After assigning the IP addresses, we must create static routes on each router to the other network. The static routes will tell each router where to send the traffic destined for the other network.
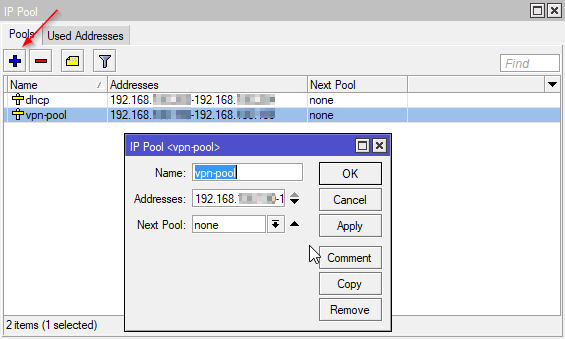
To create a static route, go to IP -> Routes and click the “+” button. In the “General” tab, set the Destination to the IP address range of the remote network, and the Gateway to the IP address of the remote router’s LAN interface.
Step 2: Configure certificates
Next, we must generate a certificate and private key for the VPN server and client on each router. The certificate and private key will be used to authenticate the VPN connection.
To generate a certificate and private key, go to System -> Certificates and click the “+” button. Select “Generate new” and set the parameters for the certificate, such as the common name, key size, and algorithm.
After generating the certificate and private key, export the public key of the VPN server certificate and import it into the VPN client’s Trusted Root Certification Authorities store. This will allow the VPN client to verify the identity of the VPN server during the SSL handshake.
Step 3: Configure SSTP server and client
Now, we can configure the SSTP server and client on each router.
To configure the SSTP server, go to PPP -> Profiles and click the “+” button. In the “General” tab, set the Name and Local Address to the IP address of the VPN server’s WAN interface. In the “SSTP” tab, enable SSTP, select the certificate and private key we generated earlier, and set the Authentication Method to “MS-CHAPv2”.
To configure the SSTP client, go to PPP -> SSTP Client and click the “+” button. In the “General” tab, set the Remote Address to the IP address of the VPN server’s WAN interface, and the Authentication Method to “MS-CHAPv2”. In the “Certificates” tab, select the certificate and private key we generated earlier.
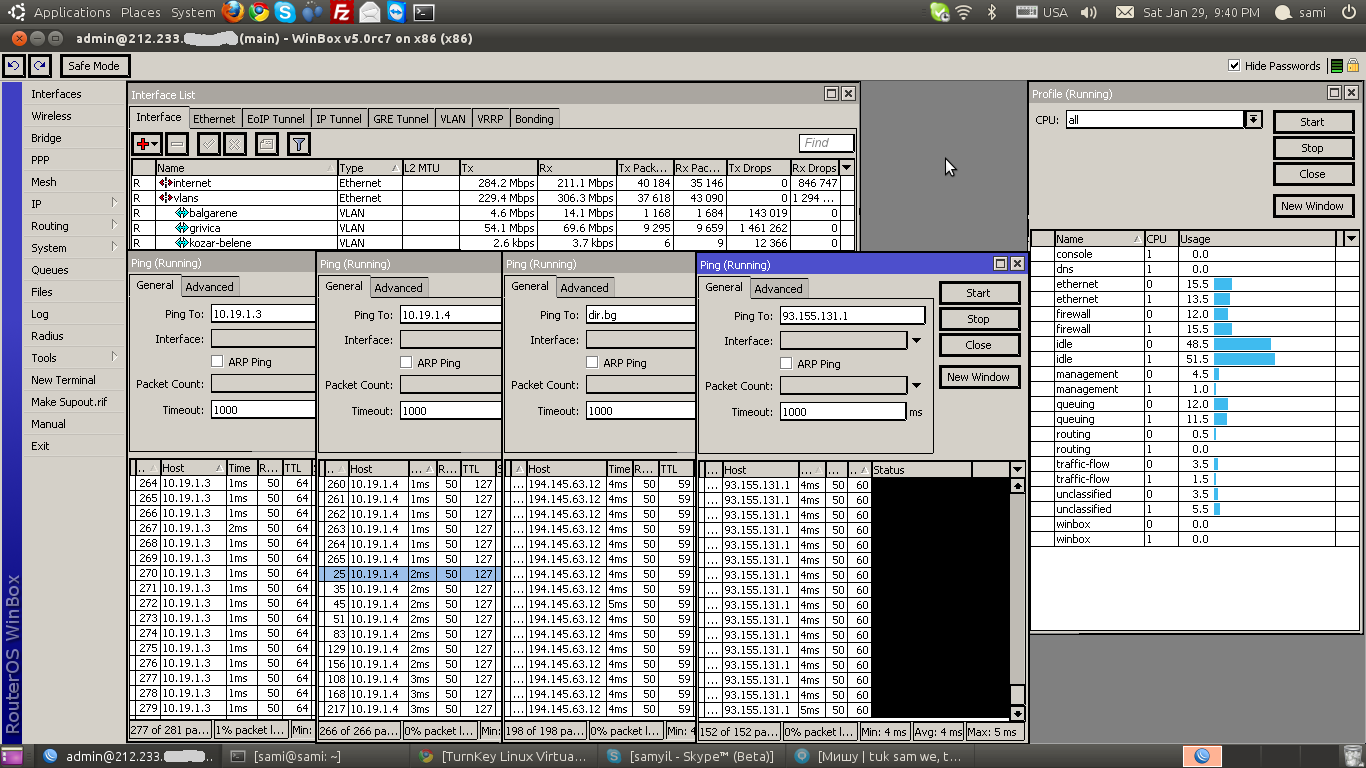
After configuring the SSTP server and client, we can test the VPN connection by pinging an IP address on the remote network from a device connected to the local network.
Tips
Here are some tips to help you set up MikroTik Site to Site SSTP VPN:
- Make sure the two networks have different IP address ranges before configuring the VPN.
- Generate a strong certificate and private key with a key size of at least 2048 bits.
- Export the server’s public key and import it into the client’s Trusted Root Certification Authorities store.
- Enable firewall rules to allow the VPN traffic.
FAQ
Here are some frequently asked questions about MikroTik Site to Site SSTP VPN:
Q: What is SSTP?
A: SSTP (Secure Socket Tunneling Protocol) is a VPN tunnel that uses SSL (Secure Socket Layer) for encryption and is built into Microsoft operating systems.
Q: Do I need a dedicated server for the VPN?
A: No, MikroTik RouterOS can turn a standard PC or MikroTik RouterBOARD hardware into a VPN server.
Q: Can I use SSTP VPN on non-Windows operating systems?
A: Yes, SSTP is available on other operating systems, including Linux and macOS, using third-party software.
Q: Can I use other VPN protocols with MikroTik RouterOS?
A: Yes, MikroTik RouterOS supports various VPN protocols, including PPTP, L2TP/IPSec, and OpenVPN.
Q: Do I need to open any ports on the firewall?
A: Yes, you need to open port 443 on the firewall for SSTP VPN traffic.
Q: Is SSTP VPN secure?
A: Yes, SSTP VPN is considered secure because it uses SSL for encryption and is difficult to block.
Setting up MikroTik Site to Site SSTP VPN with RouterOS Client is an excellent way to secure your network and enable seamless communication between two or more remote networks. With the easy-to-follow steps and tips shared in this article, you can quickly configure and test your VPN connection. So, why wait? Protect your business today with MikroTik Site to Site SSTP VPN!

Post a Comment for "Optimizing VPN Throughput On MikroTik RouterOS Best Practices"