Using MikroTik Router As A VPN Client Setup And Configuration
If you want to secure your network and keep your data safe, setting up a Virtual Private Network (VPN) is a great solution. A VPN connection encrypts all of your network traffic, preventing anyone from intercepting or spying on your online activity. In this post, I'll show you how to set up a VPN connection using Mikrotik RouterOS.
What is Mikrotik RouterOS?
RouterOS is an operating system developed by Mikrotik that can turn a regular PC into a powerful router. It offers a wide range of features, including routing, firewall, hotspot, VPN, and more. The beauty of RouterOS is that it's extremely versatile and customizable. You can set it up to suit your specific networking needs.
Steps to Set Up VPN Connection Using Mikrotik RouterOS
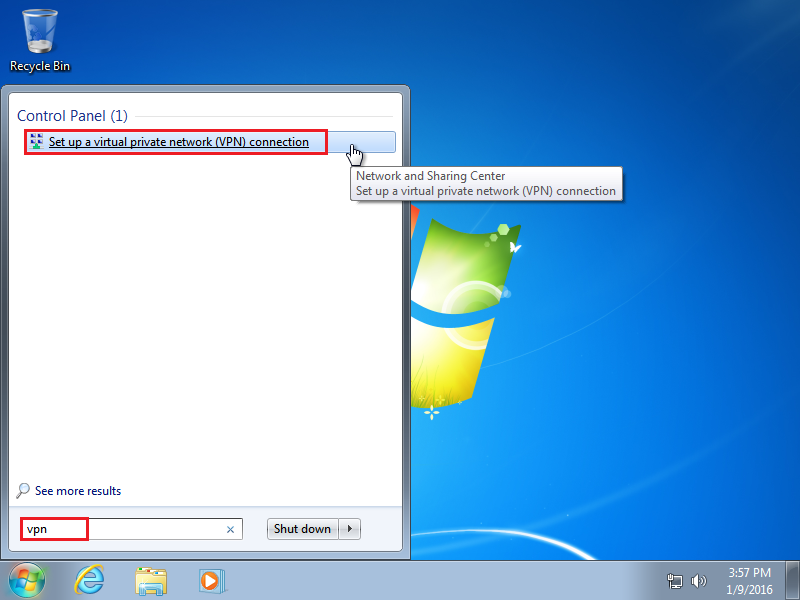
The following steps will guide you through the process of setting up a VPN connection using Mikrotik RouterOS:
1. Set up a new interface
The first step is to set up a new interface for the VPN connection. This can be done by going to the "Interfaces" tab in the RouterOS interface and clicking on the plus sign to add a new interface. Select "OVPN Client" as the type, and enter the necessary details for your VPN provider in the fields provided.
2. Configure the VPN connection
Once you have set up the new interface, you need to configure the VPN connection itself. This can be done by going to the "PPP" tab and clicking on the "Secrets" sub-tab. Here, you need to enter your VPN username and password, as well as the IP address or hostname of the VPN server. You also need to specify the encryption method and the authentication protocol.
3. Set up the NAT rule
After configuring the VPN connection, you need to set up a NAT rule to allow traffic to flow through the VPN. This can be done by going to the "IP" tab and clicking on the "Firewall" sub-tab. Here, you need to create a new rule that allows traffic to be masqueraded (i.e. have its source IP address changed) when it passes through the VPN interface.
4. Test the VPN connection
Once you have completed all the necessary configurations, it's time to test the VPN connection. You can do this by pinging a device on the opposite end of the VPN tunnel, or by simply checking your internet connection to see if it's been secured.
Advantages of Using a VPN Connection
Setting up a VPN connection using Mikrotik RouterOS can provide several benefits:
1. Increased security
A VPN connection encrypts all of your network traffic, making it much harder for anyone to intercept or spy on your online activity. This is particularly important when using public Wi-Fi networks, which are often unsecured and vulnerable to hacking.
2. Access to geo-restricted content
A VPN connection can also allow you to access geo-restricted content that might otherwise be unavailable in your location. By connecting to a VPN server in a different country, you can access websites and services that are only available in that region.
3. Improved privacy
Using a VPN connection can also help to protect your privacy online. With a VPN, your IP address is hidden and your online activity is kept private. This can be especially important for activities like torrenting or accessing sensitive information.
Conclusion
Setting up a VPN connection using Mikrotik RouterOS is a relatively straightforward process, but it can provide you with a lot of benefits. Whether you're looking to improve your online privacy, access geo-restricted content, or simply secure your network, a VPN is a great solution. With RouterOS, you have the flexibility to customize your VPN connection to suit your specific needs. So why not give it a try?


Post a Comment for "Using MikroTik Router As A VPN Client Setup And Configuration"