Securing Wireless Networks With MikroTik Router Access Points
Who’s ready for some router talk? You know you are! Today we are going to be talking about how to connect your MikroTik router to a WiFi access point and serve internet via it.
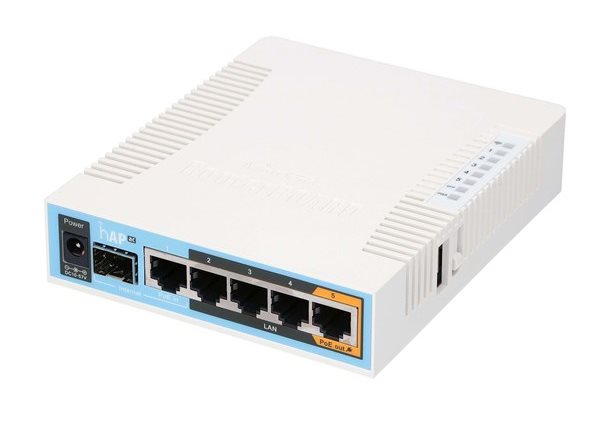
Before we dive any deeper into the fascinating world of router connectivity, let’s just check whether you know what MikroTik is. So, MikroTik is this company that designs and builds perfect networking hardware and software solutions. They specialize in routers, switches, and wireless systems for companies, and they’ve been doing that for quite some time now. So, if you want to invest in quality networking solutions, MikroTik is the perfect choice for you.
Step-by-Step guide on How to Connect MikroTik Router to a Wi-Fi Access Point
Alrighty, let’s cut to the chase and show you how to connect your MikroTik router to a Wi-Fi access point.
Step 1 - Updating your Router's Firmware to the Latest Version
You want your MikroTik router to be up-to-date, right? Right. That’s why we suggest that you update your router’s firmware to the latest version available. This will not only ensure that your router is running smoothly, but also prevent potential security issues.
Step 2 - Setting up Wi-Fi
In this step, you’ll need to set up Wi-Fi on your MikroTik router.
Connect to your MikroTik Router
First thing you need to do is connect to your MikroTik router. You can connect to your router via Ethernet cable or via Wi-Fi. If you don’t know how to connect via Ethernet, don’t worry - we’ve got you covered. Just follow these simple steps:
- Get an Ethernet cable (you know, that cable with a squarish connector on each end).
- Attach one end of the Ethernet cable to your MikroTik router’s Ethernet port.
- Attach the other end of the Ethernet cable to your PC’s Ethernet port.
- That’s it! You’re connected to your MikroTik router.
Setting Up Wi-Fi on the Router Interface
After you’ve connected to your MikroTik router, you’ll need to open up the router interface.
- Launch your preferred web browser.
- Type in your router's IP address in the address bar. Your router's IP address should be mentioned in the user manual or on the bottom of the router itself.
- You will be prompted to enter your login credentials. If you haven’t changed them, the default username and password should be "admin" and "admin" respectively.
- Once you’re logged in, you should be able to see the MikroTik router interface.
- Click on the "Interfaces" tab, then click "Wireless".
- Click "Scan", and choose the Wi-Fi network you’d like to connect to.
- Enter the password for the Wi-Fi network.
- Click "Connect".
And that’s it! Your MikroTik router should now be connected to the Wi-Fi access point.
Step 3 - Setting up Internet Connection
In the previous step, we’ve successfully connected your MikroTik router to a Wi-Fi access point. Now, let’s setup the internet connection.
- Go back to the MikroTik router interface.
- Click on the "IP" tab, then "DHCP Client".
- In the "Interface" section, choose the Wi-Fi interface you connected to in Step 2.
- Click on "OK".
- You should have internet access now!
Step 4 - Configuring the Router's Advanced Settings
The previous steps we showed you should have you up and running with basic connectivity to the internet, but there are some advanced settings that you can configure as well.
- You can set up the router to use a static IP address, which can be useful if you’re running a server behind the router.
- You can also configure the Quality of Service (QoS) settings to prioritize traffic on the network, which can help improve performance for applications that require a lot of bandwidth, like video streaming or online gaming.
- You can configure the open ports on the router, which can be useful if you have a local server that you want to make available to the internet.
There you have it! Step-by-step guide to connect your MikroTik router to a Wi-Fi access point and serve internet via it. Who said routers aren’t fun? We sure didn’t!


Post a Comment for "Securing Wireless Networks With MikroTik Router Access Points"