VPN Load Balancing With MikroTik RouterOS Optimizing Bandwidth Usage
In today's fast-paced and interconnected world, having a secure and reliable connection to the internet is more important than ever. One way to achieve this is by setting up a PPTP VPN server using a MikroTik router. This guide will walk you through the process step-by-step, so you can enjoy the peace of mind that comes with knowing your connection is safe and private.

What is PPTP VPN?
PPTP (Point-to-Point Tunneling Protocol) VPN is a secure way to connect to the internet from a remote location. It creates a virtual tunnel between your device and the internet, encrypting all data traffic that passes through it. This means that your online activity is hidden from prying eyes and protected from hackers, government surveillance, and other threats.
Why use MikroTik Router?
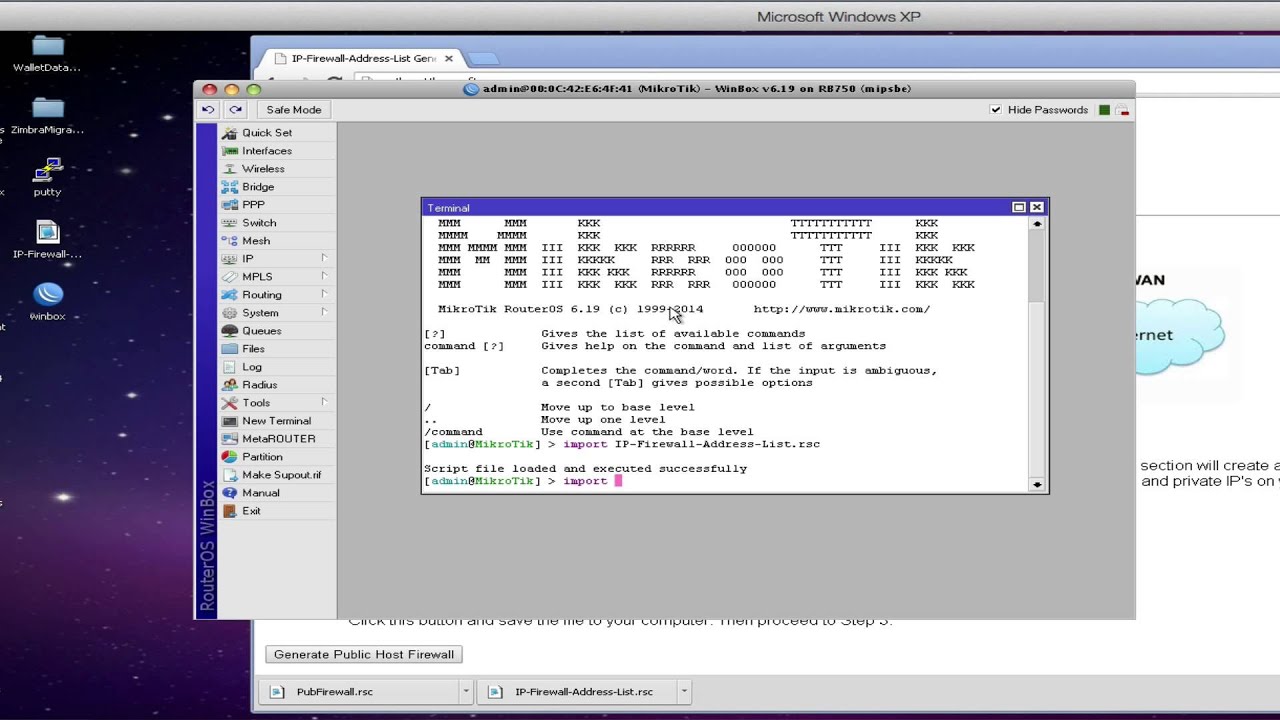
MikroTik RouterOS is a powerful operating system for RouterBOARD routers and other devices. It provides a wide range of features and tools for managing your network, including advanced routing, firewall, and VPN capabilities. By using a MikroTik router, you can create a PPTP VPN server that offers excellent security and performance, while keeping your setup simple and easy to manage.
Step-by-Step Guide
Step 1: Configure MikroTik Router
The first step is to configure your MikroTik router to support PPTP VPN. To do this, you need to perform the following steps:
- Log in to your MikroTik router using the web interface or Winbox software.
- Go to the "PPP" menu, and click on "PPTP Server".
- Check the "Enabled" box, and enter a name for the server.
- Enter a range of IP addresses to be assigned to the VPN clients.
- Click on "Secrets" tab to create a new user account.
- Enter a username and password, and select the "Secret" and "Service" options.
- Click "OK" to save your changes.
Step 2: Configure VPN Client Device
The next step is to configure your VPN client device to connect to the PPTP VPN server. You need to perform the following steps:
- Open the "Settings" app on your device, and go to "Network & Internet".
- Click on "VPN", and then "Add a VPN Connection".
- Enter the name of the VPN connection, and the server name or IP address provided by your network administrator.
- Choose "PPTP" as the VPN type, and enter your username and password.
- Click "Save" to create the VPN connection.
Step 3: Test the VPN Connection
Once you have configured both the MikroTik router and your VPN client device, it's time to test the connection. You can do this by following these steps:
- Connect your VPN client device to the internet.
- Launch the VPN client app and connect to the VPN server.
- Open a web browser and visit an IP address checker website to confirm that your VPN connection is active and your IP address has changed.
- Try accessing websites or online services that you were unable to access before connecting to the VPN to make sure everything is working smoothly.
Conclusion
Setting up a PPTP VPN server using a MikroTik Router is a straightforward process that can offer significant benefits for your online security and privacy. By using the steps outlined in this guide, you can establish a secure connection to the internet from a remote location and enjoy the peace of mind that comes with knowing your online activity is always protected.
If you are interested in improving your online security, we highly recommend following the steps above to set up a PPTP VPN server using a MikroTik router. With a little bit of effort, you can create a secure and private connection that will help keep your data safe and secure.


Post a Comment for "VPN Load Balancing With MikroTik RouterOS Optimizing Bandwidth Usage"