Web Filtering And Content Control MikroTik Router Proxy Configuration
If you're looking for a secure and efficient way to manage your network traffic, you may want to consider setting up a web proxy server. A web proxy server is a server that acts as an intermediary between your device and the internet. The main benefit of using a web proxy server is that it can help improve network performance by caching frequently accessed web content. Additionally, web proxy servers can also enhance your privacy and security by hiding your IP address and encrypting your traffic.

One popular way to set up a web proxy server is by using the MikroTik RouterOS operating system. In this guide, we'll walk you through the steps you need to take to configure a MikroTik web proxy server for your network.
Step 1: Installing RouterOS and Accessing the Console
The first step in configuring a MikroTik web proxy server is to install the RouterOS operating system on your server hardware. Once the operating system is installed, you can access the console through a web interface or through a terminal program like PuTTY.
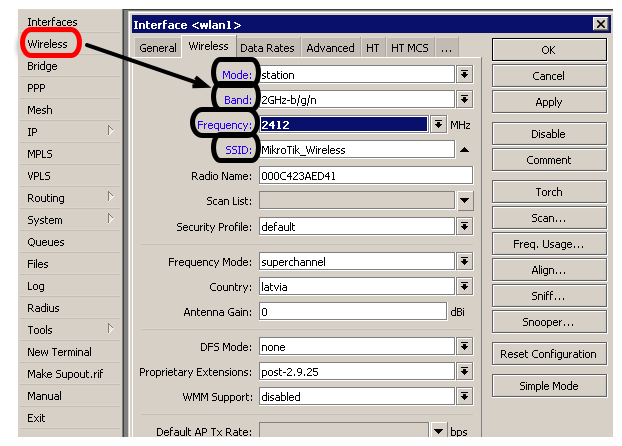
Step 2: Configuring Initial Settings and IP Address
After accessing the console, you'll need to configure some initial settings, such as your system identity and time zone. You'll also need to set your server's IP address, subnet mask, and default gateway. This information can usually be obtained from your network administrator or Internet Service Provider (ISP).
Step 3: Creating a DNS Cache
In order to speed up DNS lookups and improve overall network performance, it's a good idea to set up a DNS cache on your MikroTik web proxy server. To do this, you'll need to create a DNS cache in your router's configuration and add the appropriate domain name servers.
Step 4: Configuring the Web Proxy
Now it's time to configure the actual web proxy on your MikroTik router. The first step is to create a new proxy access list that defines which IP addresses are allowed to access the proxy. After creating the access list, you'll need to configure the proxy parameters, such as the cache size and storage location.
Step 5: Testing the Proxy Server
After configuring the MikroTik web proxy server, it's a good idea to test it to ensure that it's working correctly. You can do this by accessing a website that you haven't visited before and checking to see if it loads faster than usual. You can also check the proxy cache to see if the website's content has been cached.
Conclusion
Setting up a MikroTik web proxy server can help improve network performance, privacy, and security for your organization. By caching frequently accessed content and encrypting your traffic, you can help ensure that your network runs smoothly and securely. Follow the steps outlined in this guide to get started with your own MikroTik web proxy server today!


Post a Comment for "Web Filtering And Content Control MikroTik Router Proxy Configuration"