Maximizing Proxy Performance With MikroTik RouterOS Tricks
If you're looking to set up a router using MikroTik RouterOS, you're in luck! This guide will show you everything you need to get started. But first, let's take a look at what a router does.

What is a Router?
A router is a device that connects different networks together. It's like a traffic cop for the internet - it directs traffic to and from different places. A router can help you connect your devices to the internet, share files between computers, and much more.
Why Use MikroTik RouterOS?
MikroTik RouterOS is a powerful operating system that can be used for many different applications. It's easy to use and has a lot of features, including a firewall, bandwidth management, and VPN support. Additionally, it's relatively cheap compared to other routers on the market.
Setting Up MikroTik RouterOS
Step 1: Connect to the Router
The first step is to connect to the router. You can do this using Winbox, which is a tool that allows you to connect to MikroTik RouterOS from your computer. To connect to the router, you'll need its IP address, username, and password. Once you have this information, open Winbox and enter the information in the appropriate fields. Press the "Connect" button to connect to the router.
Step 2: Set Up the Router
Once you're connected to the router, you'll need to set it up. Start by setting the name of the router - you can do this by going to the "System" menu and selecting "Identity". Enter the name of your router in the "Name" field.
Next, you'll need to set up the internet connection. Go to the "IP" menu and select "DHCP Client". Make sure the "Add Default Route" box is checked, and click "Apply". This will allow your router to connect to the internet.
Step 3: Set Up Wireless
If you want to set up wireless connections, you can do so easily using MikroTik RouterOS. Go to the "Wireless" menu and select "Interfaces". Click "Add New" to create a new wireless interface. Enter the SSID and security settings for your wireless network.
Step 4: Set Up DHCP Server
If you want to assign IP addresses to your devices automatically, you can set up a DHCP server. To do this, go to the "IP" menu and select "DHCP Server". Click "Setup" to configure the server. Enter the network address and subnet mask for your network, then select the pool of IP addresses you want to use. Finally, click "Apply" to save your settings.
Step 5: Configure Firewall
To protect your network from outside threats, you can configure a firewall using MikroTik RouterOS. Go to the "IP" menu and select "Firewall". Click "Add New" to create a new rule. You can set up different rules based on source IP address, protocol, and port number.
Step 6: Configure Bandwidth Management
If you want to control the amount of bandwidth used by certain devices, you can set up bandwidth management in MikroTik RouterOS. Go to the "Queue" menu and select "Tree". Click "Add Child" to create a new rule. You can set up different rules based on IP address and port number.
Step 7: Set Up VPN
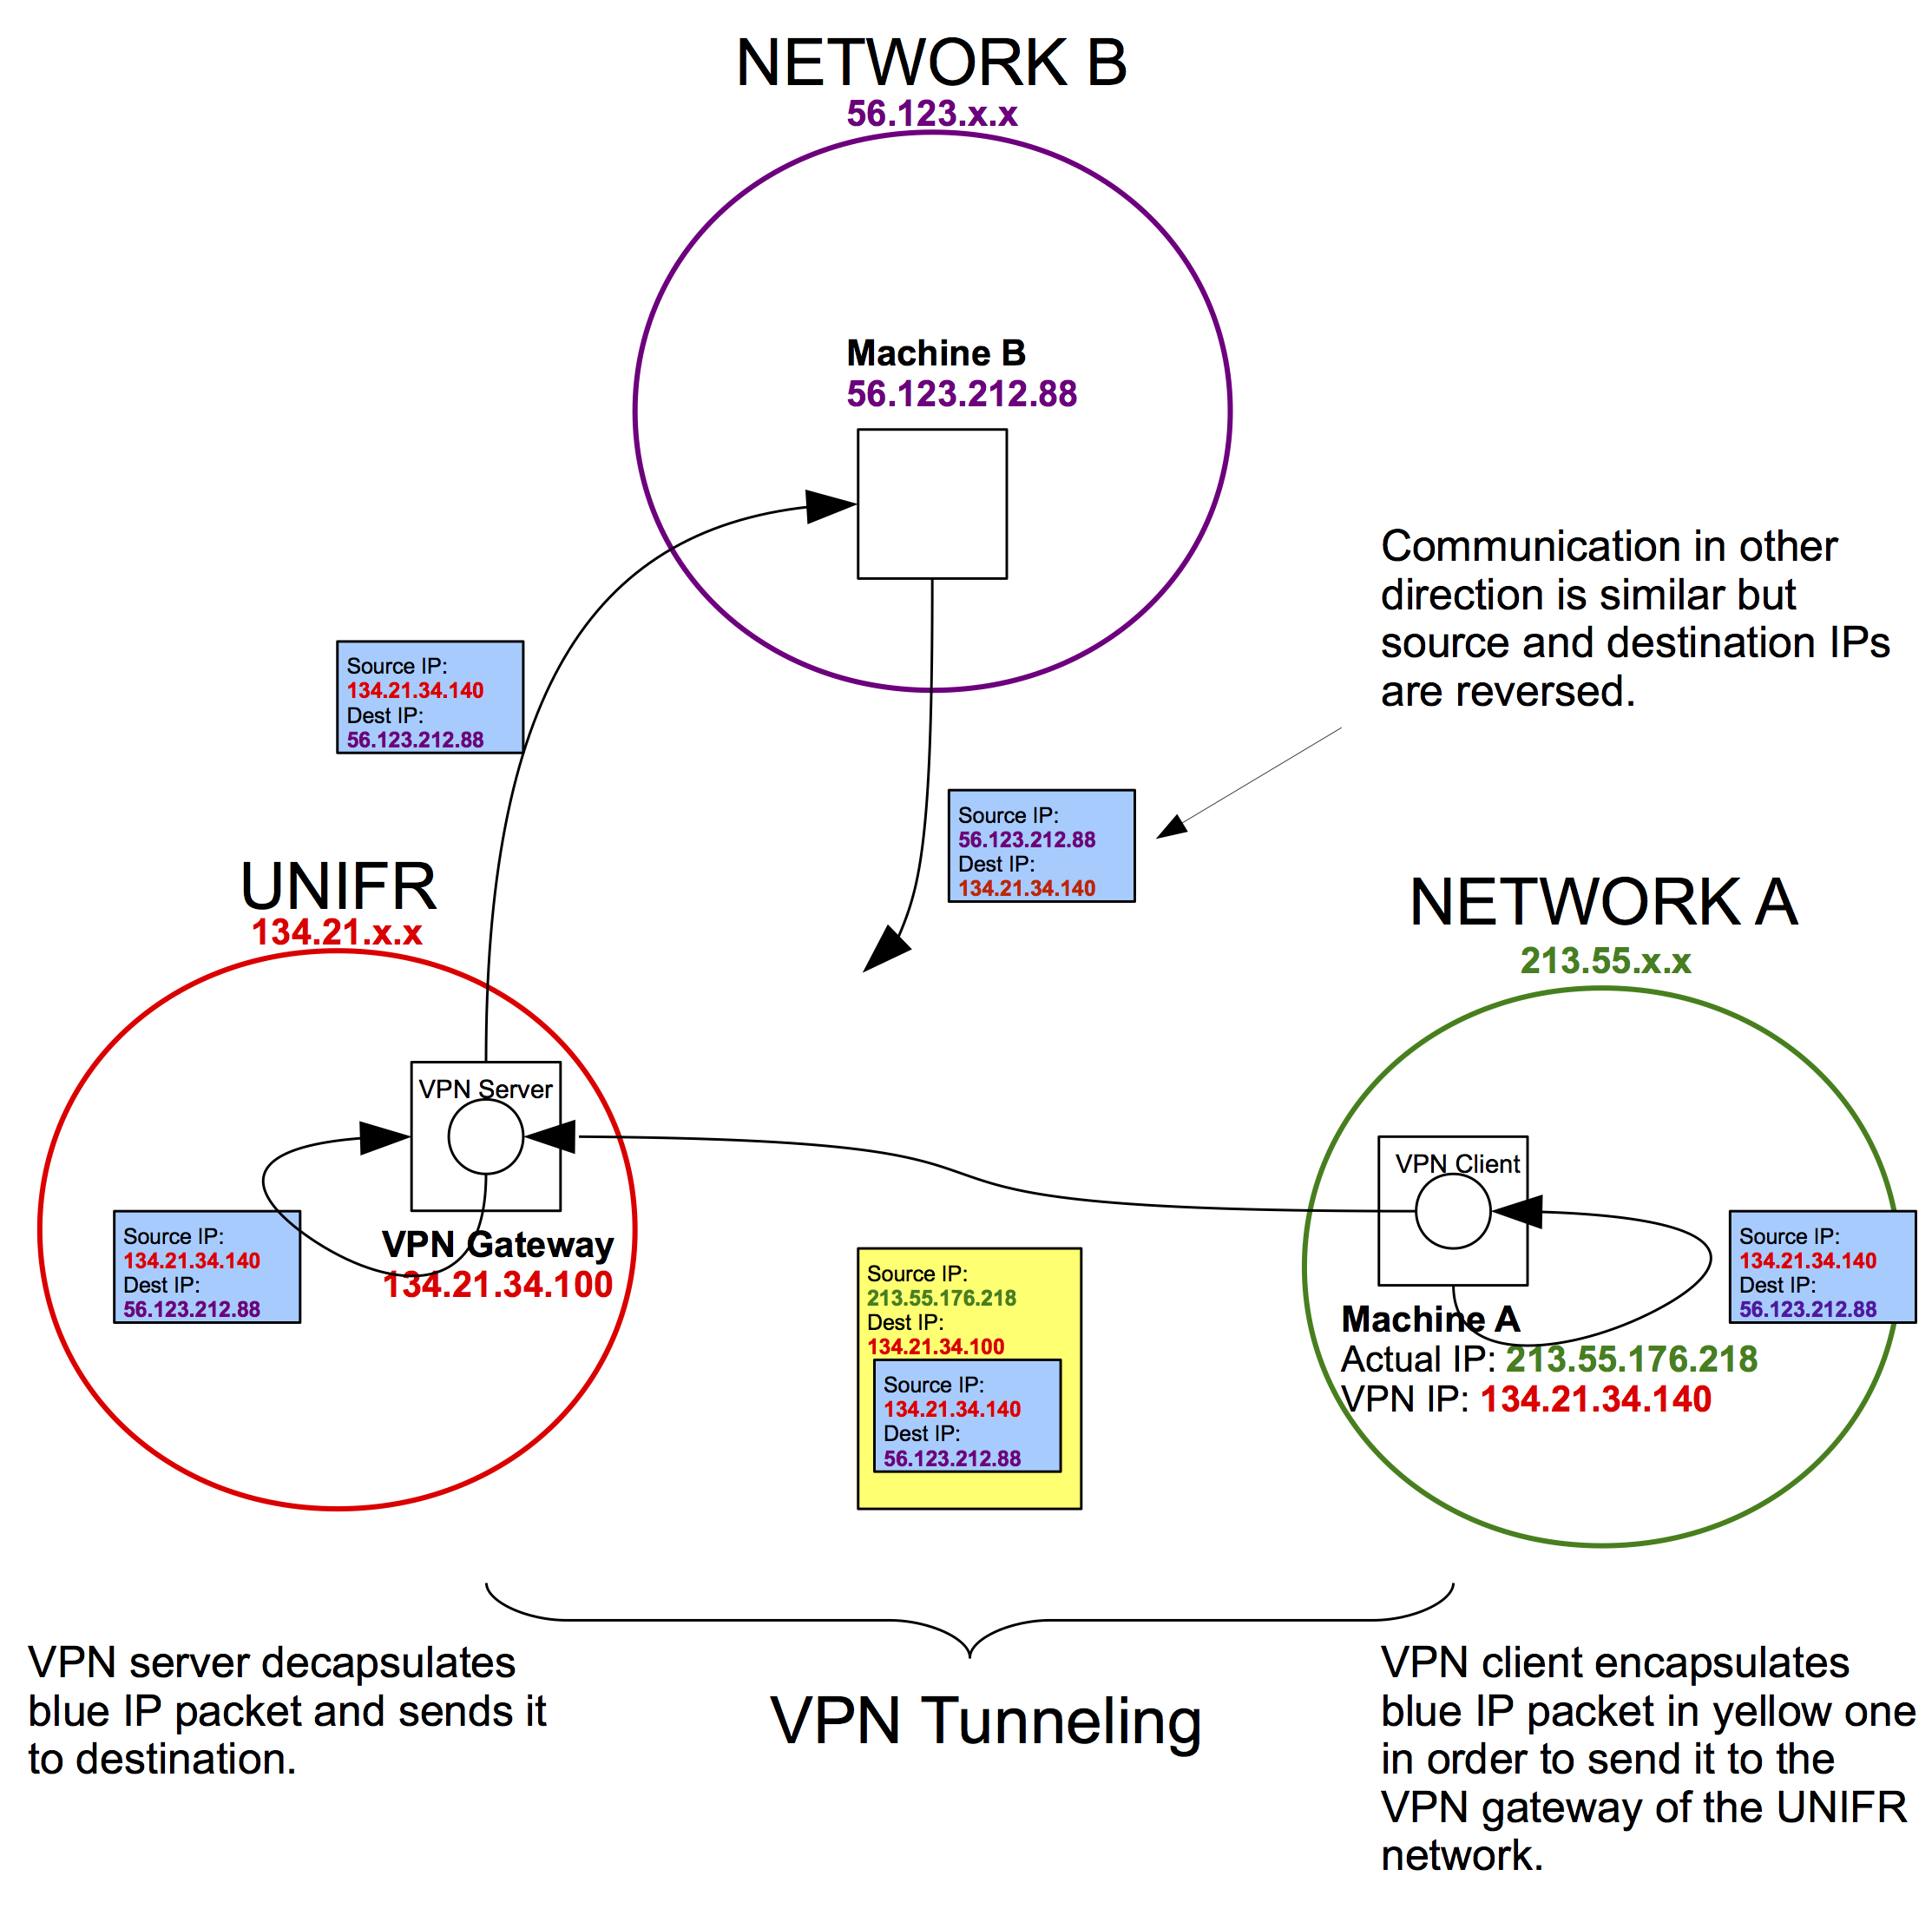
If you want to connect to your network remotely, you can set up a VPN using MikroTik RouterOS. Go to the "PPP" menu and select "Interface". Click "Add New" to create a new VPN interface. Enter the username and password for the interface, then select the encryption method you want to use. Finally, click "Apply" to save your settings.
Summary
Setting up a router using MikroTik RouterOS is easy and can provide you with many benefits. By following the steps outlined in this guide, you should be able to set up your router in no time.
Remember to protect your network by setting up a firewall and configuring bandwidth management. Additionally, you can set up a VPN to connect to your network remotely.
MikroTik RouterOS is a powerful operating system that can provide you with many features at a relatively low cost. By investing the time to set up your router properly, you'll be able to enjoy a safe and reliable network for years to come.


Post a Comment for "Maximizing Proxy Performance With MikroTik RouterOS Tricks"