Managing User Authentication On MikroTik RouterOS With VPN
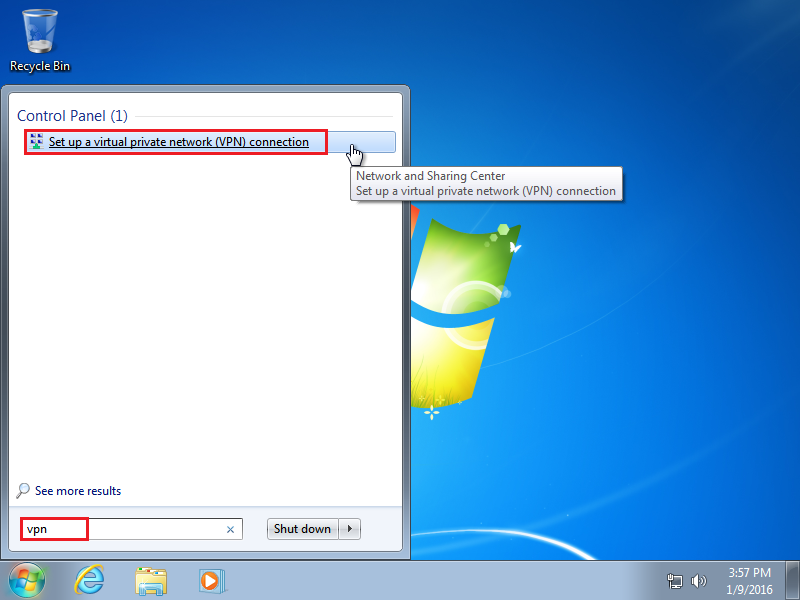
If you're looking to set up a VPN connection using Mikrotik RouterOS, this guide will show you how. Here's the image that shows you all you need:
What is a VPN?
A VPN (Virtual Private Network) is a method of connecting two devices together over a public network such as the Internet. A VPN creates a secure tunnel between the devices and encrypts all data sent between them. This is useful for companies who need to allow remote workers to access their network and for individuals who want to protect their online privacy.
What is Mikrotik RouterOS?
Mikrotik RouterOS is a powerful Operating System used to configure and manage Mikrotik routers.
Setting up a VPN connection using Mikrotik RouterOS
Here are the steps to set up a VPN connection using Mikrotik RouterOS:
Step 1: Download the configuration files and certificates
The first step is to download the configuration files and certificates from the VPN provider. These files will be used to configure the VPN client on the Mikrotik router.
Step 2: Import the certificates
Once you have downloaded the certificates, you need to import them into the Mikrotik router. To do this, go to System > Certificates and click on import. Select the certificate file and click on Import.
Step 3: Create a new VPN profile
Next, you need to create a new VPN profile. This is where you will enter the configuration details provided by the VPN provider. To do this, go to Interface > VPN and click on Add New.
Step 4: Configure the VPN profile
Enter the configuration details provided by the VPN provider in the General tab of the VPN profile. This should include the VPN server address, username, password and certificate.
Step 5: Configure the IP address settings
Next, you need to configure the IP address settings for the VPN. Go to the Info tab of the VPN profile and select dhcp-client from the drop-down menu. This will automatically configure the IP address settings for the VPN.
Step 6: Enable the VPN profile
Finally, you need to enable the VPN profile. To do this, go to the Interface tab of the VPN profile and check the Enable box.
Conclusion
Setting up a VPN connection using Mikrotik RouterOS is a simple process. By following these steps, you can easily configure a VPN client on your Mikrotik router. Whether you're using the VPN for remote work or to protect your online privacy, setting up a VPN connection is an important step towards securing your online activities.


Post a Comment for "Managing User Authentication On MikroTik RouterOS With VPN"