Implementing VPN With VLANs On MikroTik RouterOS
If you're looking to set up a virtual private network (VPN) connection using Mikrotik RouterOS, you've come to the right place. VPNs allow you to securely access your company's network from anywhere, and they're also useful for maintaining your privacy when using public Wi-Fi connections. Here's a step-by-step guide to setting up a VPN connection with Mikrotik RouterOS.
Step 1: Access the Mikrotik RouterOS web interface
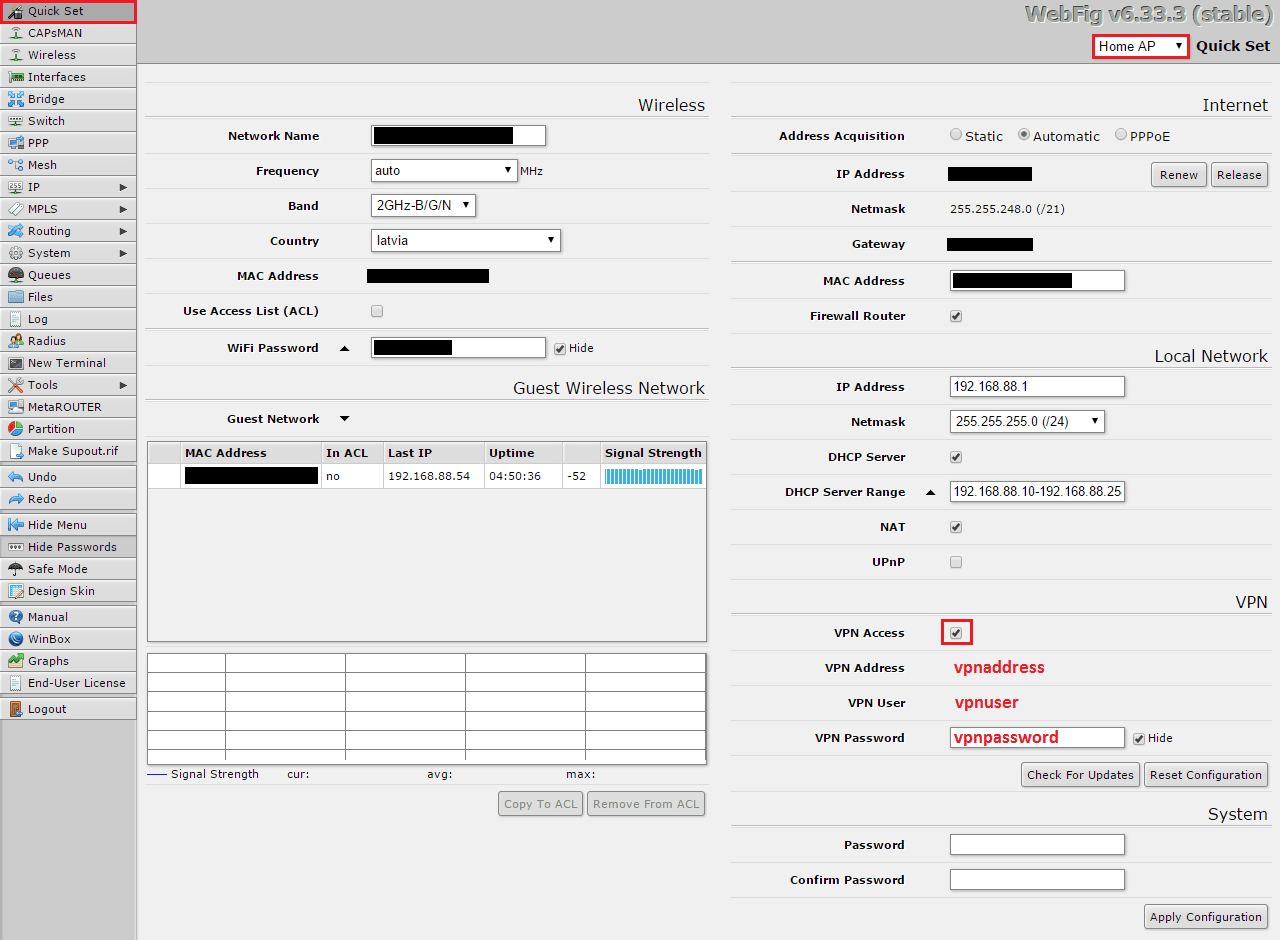
The first step in setting up a VPN connection using Mikrotik RouterOS is to access the Mikrotik web interface. Open a web browser and enter the IP address of your Mikrotik router in the address bar. You should see the login screen. Enter your login credentials and click "Login."
Step 2: Create a new PPP profile
The next step is to create a new PPP profile. PPP profiles define the settings that will be used for the PPP connection, including authentication, encryption, and compression settings. To create a new PPP profile, go to the "PPP" section of the Mikrotik web interface and click "Profiles." Click the "+" button to create a new profile. Give the profile a name, and configure the settings according to your needs.
Step 3: Create a new PPP secret
The next step is to create a new PPP secret. PPP secrets are used to authenticate users for PPP connections. To create a new PPP secret, go to the "PPP" section of the Mikrotik web interface and click "Secrets." Click the "+" button to create a new secret. Enter the username and password for the user who will be connecting to the VPN, and select the PPP profile you created in the previous step.
Step 4: Create an IP pool
The next step is to create an IP pool. IP pools are used to assign IP addresses to clients that connect to the VPN. To create an IP pool, go to the "IP" section of the Mikrotik web interface and click "Pool." Click the "+" button to create a new pool. Give the pool a name, and set the range of IP addresses you want to use for the VPN clients.
Step 5: Set up the VPN interface
The next step is to set up the VPN interface. The VPN interface is the interface that the VPN clients will connect to, and it has its own IP address. To set up the VPN interface, go to the "Interfaces" section of the Mikrotik web interface and click "VPN." Click the "+" button to create a new VPN interface. Give the interface a name, and select "pptp-server" as the interface type. Set the IP address of the interface to an unused IP address on your network.
Step 6: Set up the VPN server settings
The next step is to set up the VPN server settings. To do this, go to the "PPP" section of the Mikrotik web interface and click "Interface." Click on the VPN interface you created in the previous step. Configure the settings according to your needs. You'll need to enter the IP pool you created in step 4, and select the encryption and compression settings you want to use.
Step 7: Configure the firewall
The final step is to configure the firewall. The firewall is used to control access to your network, so you'll need to configure it to allow the VPN clients to connect. To do this, go to the "IP" section of the Mikrotik web interface and click "Firewall." Click the "+" button to create a new firewall rule. Set the action to "accept," and configure the source and destination addresses and ports according to your needs.
That's it! You've now set up a VPN connection using Mikrotik RouterOS. Remember that VPNs are only effective if they're properly secured, so make sure you choose strong passwords and configure encryption settings that are appropriate for your needs.


Post a Comment for "Implementing VPN With VLANs On MikroTik RouterOS"