Managing User Access With MikroTik RouterOS VPN
A secure connection is a priority when it comes to networking with different subnets. This is where VPN comes in, and in this article, we will show you how to set up a VPN connection using Mikrotik RouterOS.
What is Mikrotik RouterOS?
Mikrotik RouterOS is a software-based routing solution that helps to turn any standard PC, server, or router into a powerful integrated tool for communication and networking. It offers a range of features such as VPN and firewall for secure communication between different subnets.
Setting up VPN using Mikrotik RouterOS:
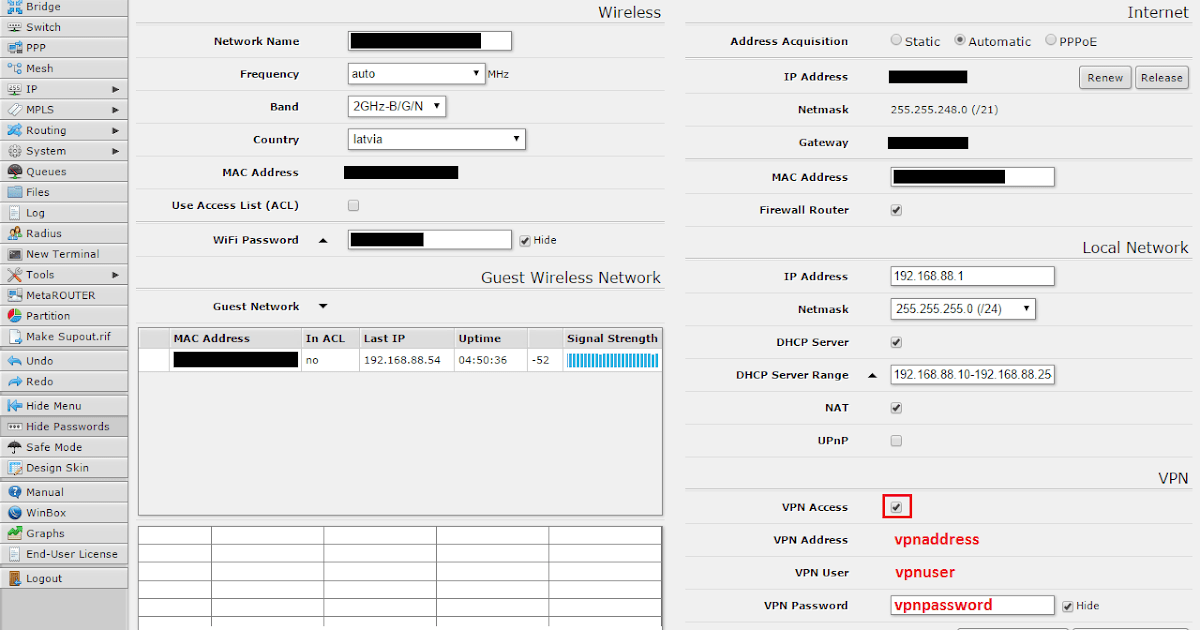
Here are the steps to set up a VPN connection on your network, using Mikrotik RouterOS.
1. Configure the Mikrotik router:
To start, you need to configure your Mikrotik router. You can do this by logging into the router’s web interface, or by using the WinBox application.
- Log in to the router as an administrator and open the Mikrotik web interface.
- On the left side of the interface, select the option “IP”, and then click on “Pool”.
- Enter the IP range you want to assign to the VPN users.
- Go back to the “IP” option and select “Addresses”.
- Add the IP address for the VPN server.
- Now, select “PPP” and click on the plus sign to add a new PPP profile.
- Set the profile name, and then select “pptp” as the protocol.
- Click on the “OK” button to save the changes.
2. Configuring VPN users:
Once the router is configured, you need to create user accounts for the VPN users who will access the network.
- From the Mikrotik web interface, select the “Secrets” option under the “PPP” section.
- Click on the plus sign to add a new user account.
- Enter the username and password for the new user.
- Set a profile for the new user and select the IP address pool created earlier.
- Click on the “OK” button to save the changes.
3. Configure Firewall:
Configuring firewall rules is an important step in setting up a VPN connection using Mikrotik RouterOS. Firewall rules help to secure the network and ensure that the VPN traffic is allowed to pass through.
- From the Mikrotik web interface, select “IP” and then click on “Firewall”.
- Select the “Filter Rules” tab.
- Click on “Add New” to create a new rule.
- Select Chain “input” and Protocol “pptp”.
- In the “Action” section, select “Action=accept”.
- Add a comment for the rule and click on the “OK” button to save the changes.
4. Test the VPN connection:
Now that everything is set up, it is time to test the VPN connection.
- Connect to the VPN server using a client device.
- Enter the username and password created earlier.
- Once connected, you should be able to access resources on the network as if you were physically present on the network.
Conclusion:
Setting up a VPN connection using Mikrotik RouterOS is a simple and effective way to secure communication between different subnets. By following the steps outlined in this article, you should be able to create a secure VPN connection that allows users to connect to the network from anywhere in the world.
Remember that by setting up this VPN, you secure your communication network against any form of external tampering or intrusion. This makes it not only essential but also necessary to follow the steps carefully to ensure you set up the VPN connection correctly.
You should also make sure that the VPN connection is regularly updated, with robust passwords to keep the network secure. This simple precaution, alongside other strict security measures, will further guarantee that your network remains secure from external attacks.


Post a Comment for "Managing User Access With MikroTik RouterOS VPN"