Setting Up A MikroTik Router As A VPN Server
Hey there, fellow internet wanderer! Do you ever feel like people are snooping on your online activity? Like they're creeping on your chats, poking their noses into your browsing history, and generally being way too nosy? Well, fear not, because I'm here to help you set up a nifty little VPN on your MikroTik Router that'll keep 'em at bay. We're gonna dive into the world of L2TP VPNs, and trust me, it's gonna be a blast!
First things first, let's talk about what a VPN is. A Virtual Private Network (VPN) is a secure connection between your device and the internet. It encrypts all the data you send and receive, so it's virtually impossible for anyone to intercept or spy on your activity. Think of it as a barrier between your precious online presence and the wild, wild web.
Now, without further ado, here's how you can set up a L2TP VPN on your MikroTik Router:
Step 1: Log into your MikroTik Router
Before we can start configuring anything, we need to log into your MikroTik Router. Open up your web browser (I recommend using Google Chrome, but any browser will do) and enter your router's IP address in the address bar. If you don't know your router's IP address, you can usually find it on the bottom of your router or in your router's manual. Once you've entered your router's IP address, hit Enter.
Step 2: Navigate to PPP
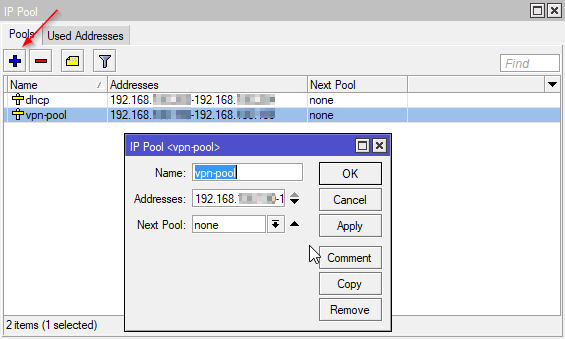
Once you've logged into your router, you should see the MikroTik RouterOS Interface. Find the tab that says "PPP", and click on it. This will take you to the Point-to-Point Protocol (PPP) configuration page, where we'll be doing most of our work.
Step 3: Add a new PPP Profile
Now that we're in the PPP configuration page, we need to add a new PPP Profile. Click on the "Profiles" tab, and then click the "+" button to add a new profile. This will open up the "New PPP Profile" window, where we can start configuring our VPN.
Step 4: Name your Profile
The first thing we need to do is name our PPP profile. I like to keep things simple, so let's just call it "VPN". Type "VPN" in the "Name" field, and hit "Apply" to save your changes.
Step 5: Configure your PPP Profile
Now it's time to get down to the nitty-gritty of configuring your PPP profile. Here's what you need to do:
- Set "Local Address" to the IP address of your router.
- Set "Remote Address" to the IP address range that you want your devices to connect to when they're on the VPN. I like to use something like 192.168.10.0/24, but you can use whatever you want.
- Under "IPSec Settings", set "IPSec Encryption" to "aes-256" and "IPSec Hash" to "sha1". These are both good options for security.
- Under "L2TP Settings", set "L2TP Encryption" to "aes-256" and "L2TP Hash" to "sha1". Again, good options for security.
- Set "Authentication" to "mschap2".
- Make sure "Use IPsec" and "Use L2TP" are checked.
- Hit "Apply" to save your changes.
Step 6: Add a new User
Now that we've configured our PPP profile, we need to add a new user who can connect to the VPN. Click on the "Secrets" tab, and then click the "+" button to add a new user. This will open up the "New PPP Secret" window.
Step 7: Configure your User
Here's what you need to do to configure your user:
- Type a username in the "Name" field. This can be anything you want.
- Type a strong password in the "Password" field. I recommend using a password manager like LastPass to generate a random, strong password.
- Under "Service", select "l2tp".
- Under "Profile", select "VPN" (or whatever you named your PPP profile).
- Hit "Apply" to save your changes.
Step 8: Test your VPN connection
Now that we've set up our PPP profile and added a new user, it's time to test our VPN connection. On your device (whether it's a laptop, smartphone, or whatever), go to your network settings and add a new VPN connection. Make sure to select L2TP for the Connection Type, and enter your router's public IP address as the Server Address (you can find your router's public IP address on sites like WhatIsMyIP.com). Use the username and password you created earlier to log in, and voila! You should now be connected to your MikroTik Router VPN.
That's it, folks! You've successfully set up a L2TP VPN on your MikroTik Router. Now you can browse the internet with peace of mind, knowing that your online activity is secure and private. Happy surfing!


Post a Comment for "Setting Up A MikroTik Router As A VPN Server"