Understanding MikroTik Proxy Server Caching
If you are looking for ways to improve your internet speed and browsing experience, look no further! Today we are going to teach you how to configure caching on Mikrotik using Web-proxy.

Firstly, caching is a process that helps to store data or frequently accessed web pages in a local disk build into the router, reducing the time and bandwidth required to access the internet. Mikrotik is well known for their robust set of features and flexibility in configuration, which attributes to its popularity among network administrators and enthusiasts.
Here are the steps to configure caching on Mikrotik using Web-proxy:
Step 1: Enable Web-Proxy on Mikrotik Router
To enable Web-Proxy, navigate to IP -> Web Proxy -> Settings in the Mikrotik web interface. Ensure that the “Enabled” checkbox is ticked and other settings are configured according to your preference. For example, it is recommended to set the cache maximum size to a size that fits your hard disk, as storing more cache than available disk space will not result in additional cache hits or performance improvement.
Step 2: Configure NAT Rule
After enabling Web-proxy, the next step is to add a NAT rule to redirect HTTP traffic to the proxy port. Navigate to IP -> Firewall -> NAT and add a new rule with the following configuration:
- Chain: dstnat
- Protocol: tcp
- Dst. Port: 80
- Action: redirect
- To Ports: 8080
- Comment: HTTP Redirect
Ensure that the rule is placed above other rules that may match HTTP traffic to prevent redirection issues.
Step 3: Configure Web-Proxy ACL
ACL (Access Control List) is a list of rules that specifies which traffic should be allowed to pass through the proxy. To configure the Web-Proxy ACL, navigate to IP -> Web Proxy -> Access and create a new rule, specifying the source address and destination address according to your network topology. You may also configure the rule to match certain URL patterns, headers or method to further customize the caching behaviour.
Step 4: Monitor Web-Proxy Cache Hits
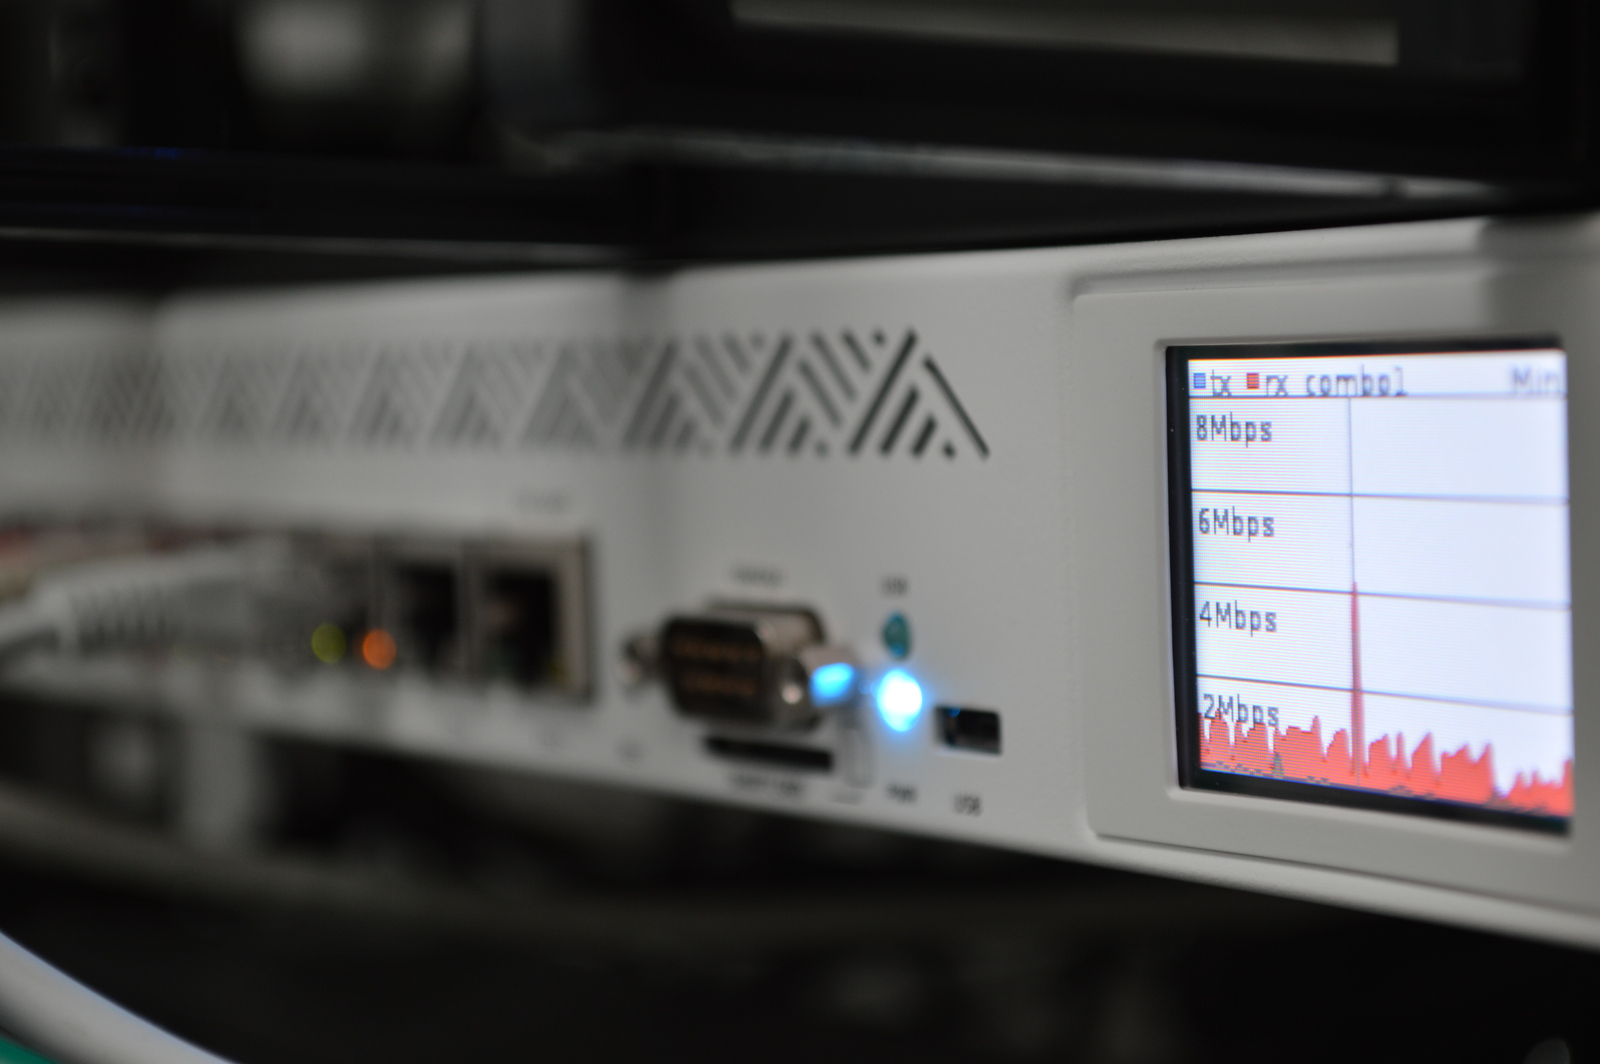
After enabling caching, you can monitor the cache hits and miss using the Mikrotik web interface. Navigate to IP -> Web Proxy -> Cache and view the bandwidth savings and cache hit ratio. Additionally, you may also configure the cache log and email alerts to monitor the cache usage and prevent overfilling or cache poisoning.
In summary, configuring caching on Mikrotik using Web-proxy is a simple but effective way to improve your internet browsing experience. It helps to reduce the bandwidth usage and latency by serving frequently accessed content from a local disk, resulting in faster page load time and reduced data usage. We hope this guide helps you to optimize your Mikrotik router and enjoy a faster and smoother internet experience.


Post a Comment for "Understanding MikroTik Proxy Server Caching"