Securing Wireless Networks Best Practices With MikroTik Routers
If you're setting up your internet connection at home, or in your small business, you may be considering the Mikrotik router. This router is reliable and offers great security features to keep your network safe. However, configuring it can be a bit of a challenge if you're not familiar with networking. In this post, we'll give you a step-by-step guide on how to configure the Mikrotik router and set up your internet connection.
Step 1: Connect Your Router to Your Modem
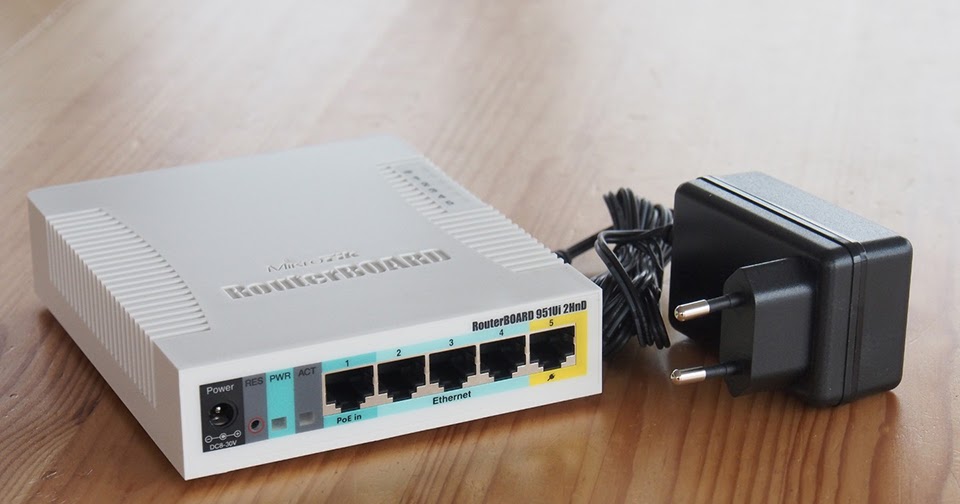
The first step to configuring your Mikrotik router is to connect it to your modem. You'll need to use an Ethernet cable to make this connection. Plug one end of the cable into the WAN port on your router, and the other end into the Ethernet port on your modem.
Step 2: Access Your Router's Web Interface
To access the web interface of your Mikrotik router, you'll need to open your web browser and enter the IP address of your router in the address bar. The default IP address for the Mikrotik router is 192.168.88.1. Once you've entered the IP address, press Enter to access the login page.
Step 3: Log in to Your Router
Once you're on the login page for your router, you'll need to enter your username and password to log in. The default username for the Mikrotik router is "admin", and the default password is blank. If you've changed the default password, enter the new password instead.
Step 4: Configure Your WAN Connection
Once you've logged in to your router, you'll need to configure your WAN connection. To do this, go to the "Interfaces" tab and click on "WAN". Here, you'll need to enter your ISP's connection settings. This will include your IP address, subnet mask, default gateway, and DNS servers.
Step 5: Set Up Your LAN Connection
After you've configured your WAN connection, you'll need to set up your LAN connection. To do this, go to the "Interfaces" tab and click on "LAN". Here, you'll need to enter your network settings, including your IP address, subnet mask, and DNS servers.
Step 6: Configure DHCP
If you want to use DHCP to automatically assign IP addresses to devices on your network, you'll need to configure DHCP. To do this, go to the "IP" tab and click on "DHCP Server". Here, you'll need to enable DHCP and enter your IP address range and lease time.
Step 7: Set Up Firewall Rules
To keep your network secure, you'll need to set up firewall rules. To do this, go to the "IP" tab and click on "Firewall". You can create rules to allow or block traffic based on IP addresses, ports, or protocols.
Step 8: Create DNS Entries
If you want to create DNS entries for your network, you can do this by going to the "IP" tab and clicking on "DNS". Here, you can add static DNS entries to resolve domain names to IP addresses.
Step 9: Enable Port Forwarding
If you want to forward ports to devices on your network, you can do this by going to the "IP" tab and clicking on "Firewall". Here, you can create NAT rules to forward traffic to specific IP addresses and ports.
Conclusion
Configuring the Mikrotik router may seem daunting at first, but by following these steps, you can set up your internet connection with ease. Remember to keep your network secure by setting up firewall rules and enabling port forwarding only for necessary devices. With the Mikrotik router, you can enjoy a fast and secure internet connection for your home or business.


Post a Comment for "Securing Wireless Networks Best Practices With MikroTik Routers"