The Role Of MikroTik Routers In Network Security
So, you wanna learn how to get your MikroTik router up and running, huh? Well, you're in luck, my friend, because I'm about to guide you through the process step-by-step. And don't worry, I'll try to make it as painless as possible.

First off, you need to make sure you have everything you need. Make sure you have a computer with a wired Ethernet port (sorry, no Wi-Fi for this one) and a cable that can connect the computer to the router. You'll also need a web browser, like Chrome or Firefox, to access the router's settings.
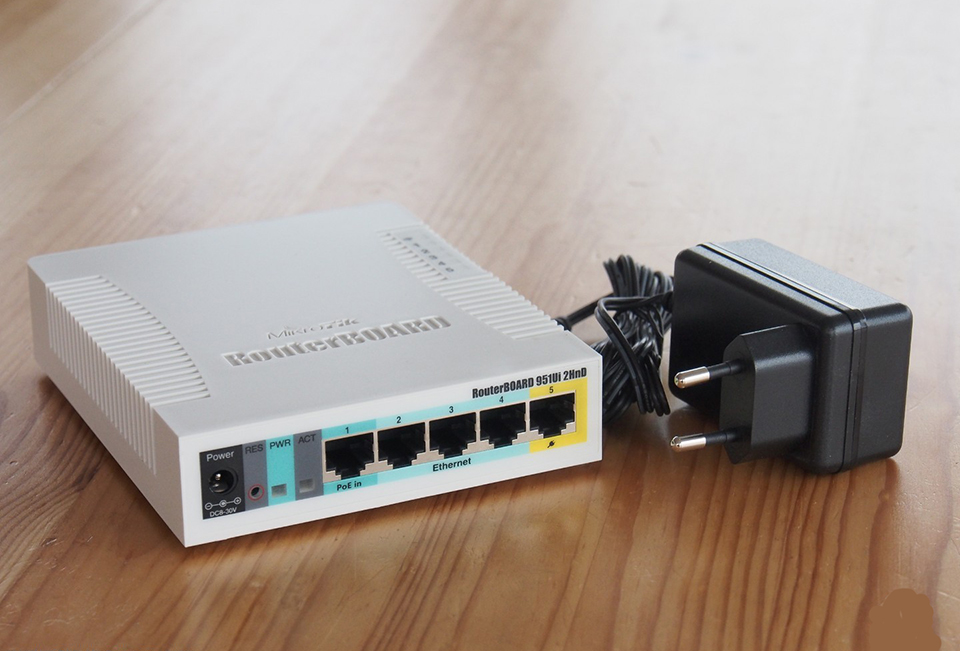
Once you've got all that, the first thing you need to do is connect your computer to the router. So grab that cable and plug it in to the Ethernet port on the router and the Ethernet port on your computer. Got it? Great. Let's move on.
Now open up your web browser and type in the router's IP address. This should be 192.168.88.1, but if it's not, you can find it in the documentation that came with the router (or just Google it). When you hit "enter," you'll be prompted to enter your username and password.
If you've never accessed the router before, the default username is "admin" and the default password is blank. Yes, you read that right. The password is nothing. Don't worry, though, you'll want to change it as soon as possible to something more secure.
Once you're logged in, you'll be taken to the router's main page. This is where you'll be able to configure everything from the router's Wi-Fi settings to its firewall. It can be a bit overwhelming at first, but don't worry, we're only going to focus on a few key areas for now.
Setting Up DHCP
First up, we're going to configure DHCP. DHCP stands for Dynamic Host Configuration Protocol, and it's what allows your router to assign IP addresses to devices on your network automatically. This is important because it means you don't have to manually assign IP addresses to every device on your network. Trust me, that's a pain.
To get started, click on "IP" in the left-hand menu and then click on "DHCP Server."
You'll see a bunch of options here, but you only need to worry about a couple of them. First, make sure "DHCP Server" is enabled. You'll also want to set the "Address Pool" to a range of IP addresses that your router can assign to devices on your network. For example, you might set the address pool to 192.168.88.10-192.168.88.200.
Finally, you'll want to set the "Gateway" and "DNS Server" to the IP address of your router (which, remember, is 192.168.88.1).
Once you've got all that set up, click "Apply" at the bottom of the page to save your changes.
Setting Up Wi-Fi
Next, let's set up Wi-Fi. This is what allows your devices to connect to your network wirelessly (assuming they have Wi-Fi capabilities, of course).
Start by clicking on "Wireless" in the left-hand menu and then clicking on "Interfaces."
You'll see a few options here, but the one you're looking for is "WLAN1" (assuming you only have one Wi-Fi radio in your router). Click on "Edit" next to that option.
In the "Wireless" tab, you'll want to make sure "Wireless Protocol" is set to "802.11" (which is the standard for Wi-Fi). You can leave the rest of the options as their default settings for now.
Next, click on the "Security Profiles" tab. Here, you'll set the name and password for your Wi-Fi network. Choose a name that's easy to remember (and maybe a little funny, if you're feeling adventurous) and a password that's strong (i.e. not something like "password123"). Make sure you don't forget these, as you'll need them later to connect to your Wi-Fi network.
Finally, click "Apply" at the bottom of the page to save your changes.
Setting Up Firewall Rules
Our final configuration step is to set up some firewall rules. Firewall rules are what protect your network from malicious traffic (i.e. hackers trying to break in). While the default settings for the firewall are usually okay for most home networks, it doesn't hurt to add some extra protection.
To get started, click on "IP" in the left-hand menu and then click on "Firewall."
You'll see a bunch of options here (firewalls are complicated, yo), but the ones you want to focus on are the two "Filter Rules" tabs. Click on each of those in turn and then click "Add New" at the bottom of the page.
For each rule, you'll want to choose the following options:
- Action: "Drop"
- Protocol: "All"
- Src. Address: "0.0.0.0/0"
- Dst. Address: "192.168.88.0/24"
For the first rule, set the Dst. Port range to "1-21". For the second rule, set it to "23-65535".
Again, don't worry if this all seems a bit overwhelming. Just follow the instructions and you'll be protected from all the internet baddies out there.
Wrapping Up
And there you have it! You're now the proud owner of a fully configured MikroTik router. Of course, there's a lot more you can do with your router (like configure VPNs or set up port forwarding), but hopefully this guide has given you a good starting point.
And remember, if you ever get stuck or need help, there's a whole community of MikroTik enthusiasts out there who are more than happy to help you out. So don't be shy, ask for help if you need it.
Until next time, happy networking!


Post a Comment for "The Role Of MikroTik Routers In Network Security"