Configuring MikroTik Router As A VPN Server Best Practices
Hey fam!
Have you ever had internet issues? Slow speeds, connection drops, or maybe you just want to make sure your connection is always up and running? Well, I have some good news for you! With MikroTik's load balancing feature, you can ensure that your internet connection is always up and running smoothly!
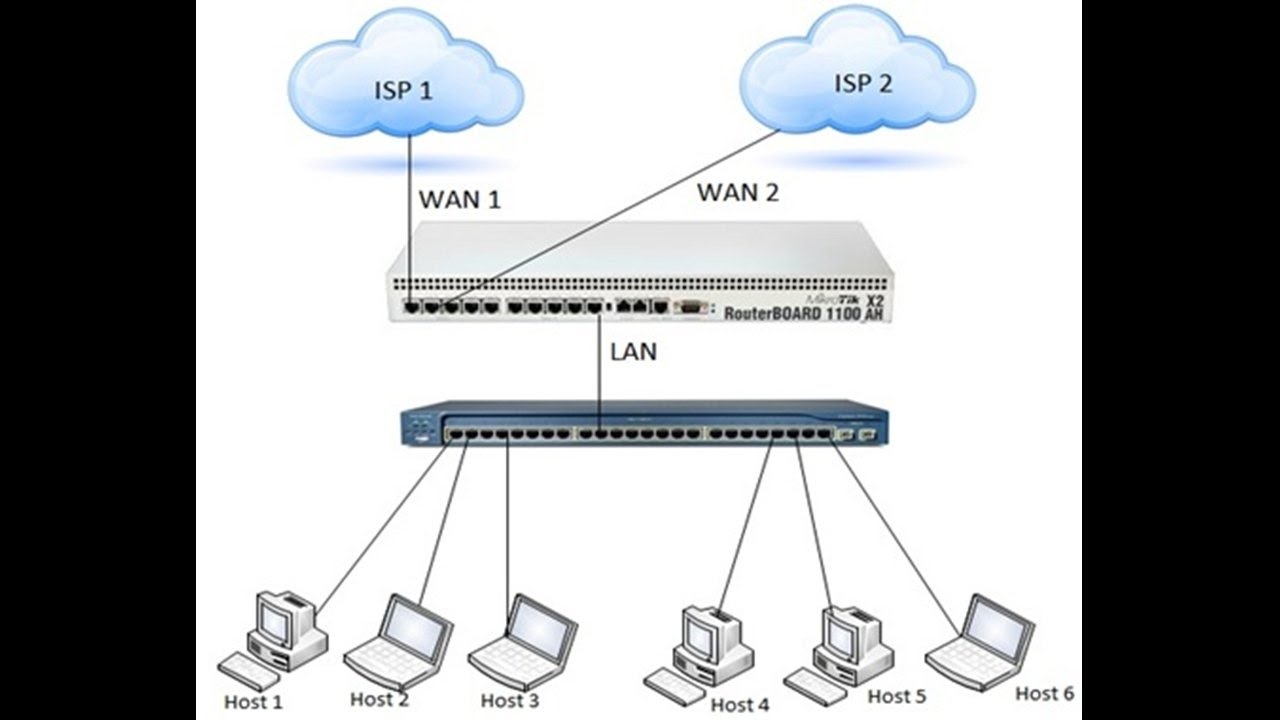
That's right, you don't have to keep dealing with these annoying issues anymore. The MikroTik load balancing feature allows you to distribute traffic over multiple internet connections, also known as WANs. This means that if one connection fails, your traffic is automatically redirected to another connection, without interruption.
But wait, there's more!
Here are some other benefits of MikroTik's load balancing feature:
- You can take advantage of multiple internet connections to maximize your bandwidth and speed up downloads.
- You can use different internet service providers to avoid downtime and maintain uninterrupted service.
- You can configure different priorities and weights for your WANs to ensure that traffic is distributed based on your specific needs.
So, how do you get started with MikroTik's load balancing feature?
- First, you need to have at least two internet connections with different IP addresses (WANs).
- Next, you will need to configure the routers for each of your internet connections. This usually involves setting up a static IP address, subnet, gateway, and DNS servers.
- After you have configured your routers, you will need to connect them to your MikroTik router. Make sure that each router is connected to a separate port on your MikroTik router.
- Now, you can start configuring the MikroTik load balancing feature. Go to the IP tab and select "Firewall". Click on the "NAT" tab and then select the "Action" drop-down menu. Choose "Masquerade" and select the WAN interfaces that you want to use for load balancing.
- After you have configured the NAT rule, go to the "IP Routes" tab. Click on "Add New" to add a new route. Set the gateway to the IP address of your MikroTik router and the distance to "1".
- Finally, go to the "IP Firewall" tab and add a new rule. Set the chain to "Prerouting" and the action to "mark connection". Set the new routing mark to "multi-wan".
- You're done! Now you can enjoy the benefits of MikroTik's load balancing feature.
One thing to keep in mind is that load balancing may not always work perfectly. Some applications may not support it, or they may not be able to handle multiple connections. Additionally, load balancing may not guarantee faster speeds or better performance in every situation. However, in most cases, MikroTik's load balancing feature is a great way to improve your internet connection and avoid downtime.
Give it a try and let me know if it works for you!


Post a Comment for "Configuring MikroTik Router As A VPN Server Best Practices"