Building A VPN Gateway With MikroTik RouterOS
Are you looking to set up a VPN connection using Mikrotik RouterOS? If so, you're in luck! With the help of the right guide, you can easily establish a secure and private connection to the internet.
Why use a VPN connection?
Before diving into the steps to set up a VPN connection using Mikrotik RouterOS, let's first understand why you might want to use this service. Simply put, a VPN connection allows you to connect to the internet in a secure and private way.
When using a VPN connection, your internet traffic is encrypted, making it much more difficult for anyone to monitor your internet activities. Additionally, your IP address is masked, further protecting your privacy and anonymity online.
Steps to set up a VPN connection using Mikrotik RouterOS
Step 1: Set up the router
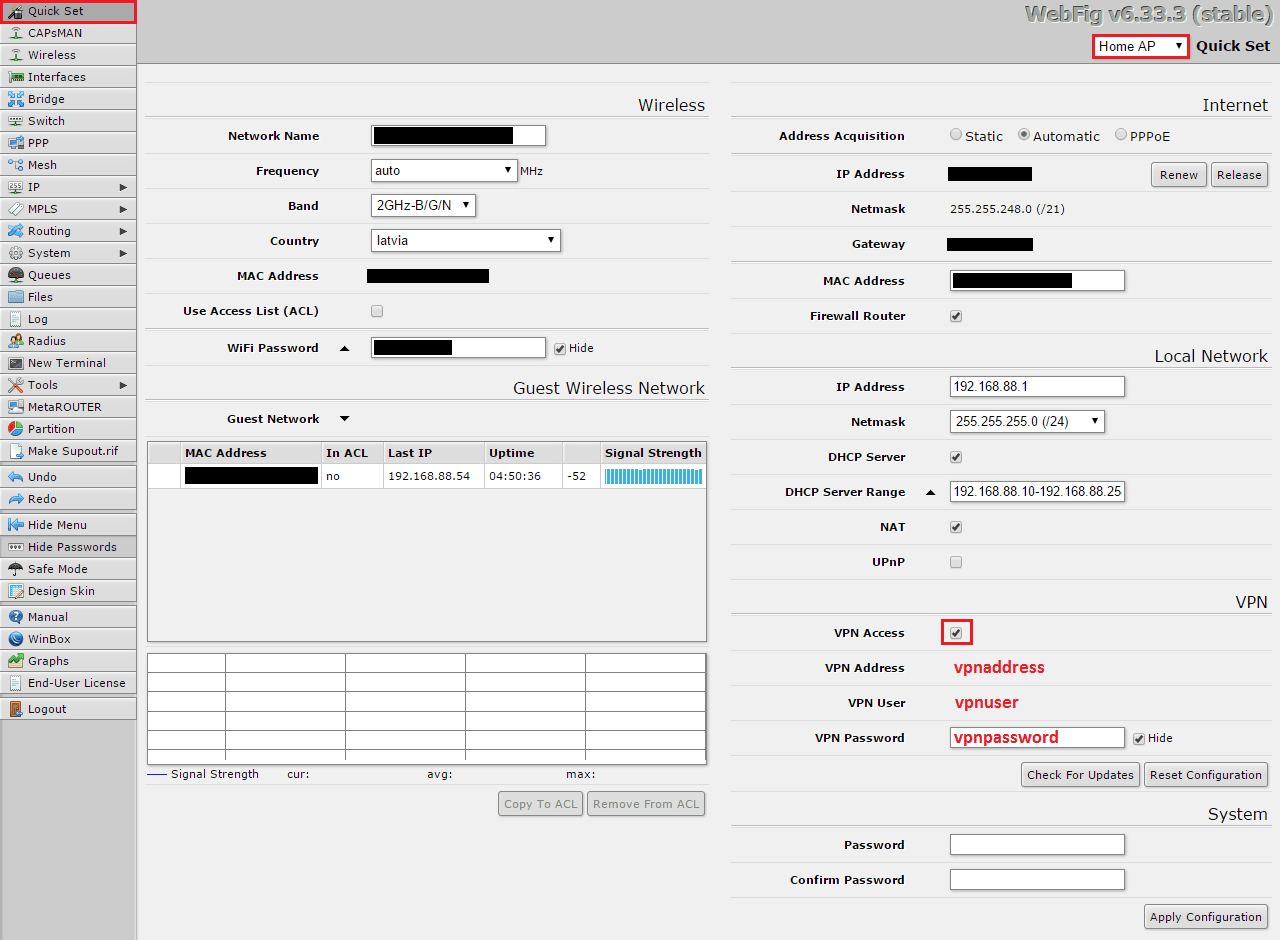
The first step to setting up a VPN connection using Mikrotik RouterOS is to configure your router to support the service. This process involves logging into your router via a web interface and navigating to the "IP" tab. From there, select the "VPN" option and choose "L2TP server" or "PPTP server," depending on which protocol you prefer.
Step 2: Configure the connection details
Once you've selected your server protocol, the next step is to configure the specific connection details. This includes setting up a username and password for the connection, as well as specifying the IP address or domain name of your server.
Step 3: Configure the client settings
With the server settings configured, the next step is to set up the client settings. This typically involves creating a new connection using the VPN protocol you chose in Step 1. From there, you'll need to enter the server details you specified earlier, along with your username and password.
Step 4: Test the connection
Once everything is configured, it's time to test the connection. This involves connecting to the VPN server and verifying that your IP address is masked and your internet traffic is encrypted. If everything is working properly, congratulations - you've successfully set up a VPN connection using Mikrotik RouterOS!
Additional considerations when using a VPN connection
Choose a server location
When setting up a VPN connection, it's important to choose the right server location. Depending on your goals, you may want to select a server that is located in a different geographic region. This can help you access content that might otherwise be unavailable in your location, or it could help you bypass internet restrictions or censorship.
Be aware of bandwidth limitations
Another thing to keep in mind when using a VPN connection is that many providers impose bandwidth limitations. This means that if you use a lot of data, your connection might be slowed down or even completely blocked. To avoid this, it's important to choose a VPN provider that offers unlimited bandwidth.
Consider security features
Finally, when choosing a VPN provider, it's important to consider the security features that are offered. Look for providers that offer strong encryption, multiple protocols, and other advanced security features to protect your privacy and data online.
Conclusion
Setting up a VPN connection using Mikrotik RouterOS can be a great way to protect your privacy and security online. By following the steps outlined above and keeping these additional considerations in mind, you can ensure that your VPN connection is as secure and effective as possible.


Post a Comment for "Building A VPN Gateway With MikroTik RouterOS"