Securing Wireless Networks With MikroTik Router Best Practices
Configuring your Mikrotik router to access the internet and set up your network is a crucial step in ensuring that your business or home is running at optimal performance. Follow these simple steps to configure your router and enjoy faster, more reliable internet access.
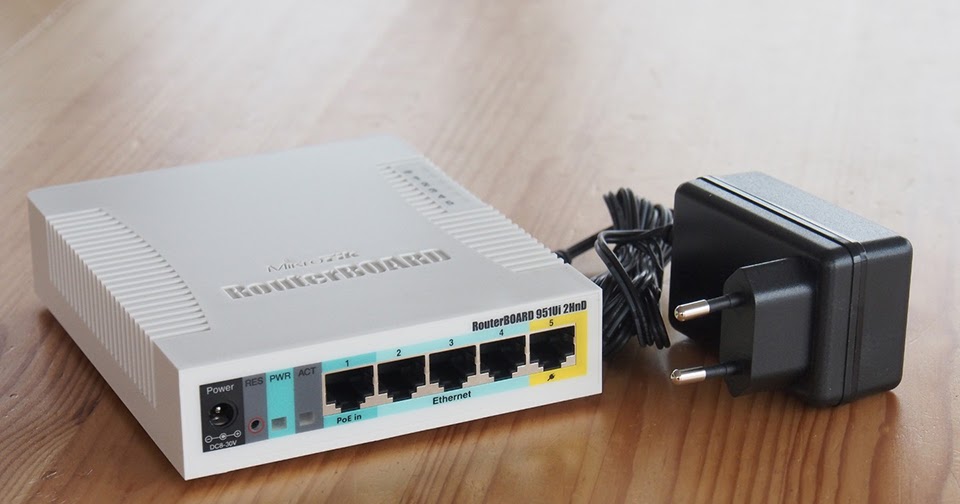
Step 1: Connect your Mikrotik router to your computer
The first step in configuring your Mikrotik router is to connect it to your computer using an ethernet cable. Once you have connected your router to your computer, open up your web browser and type in the default IP address of the router, which is 192.168.88.1. This will take you to the Mikrotik router login page.
Step 2: Login to your Mikrotik router
Once you are on the login page for your Mikrotik router, enter the default username and password. The default username is admin, and the default password is blank. Click on the login button to access the router's main interface.
Step 3: Configure your internet connection
The next step is to configure your internet connection. Go to the 'IP' tab on the main interface, then click on the 'DHCP Client' button. This will bring up the 'New DHCP Client' window. In this window, enter the name of your internet service provider (ISP) and click on the 'Apply' button. Your router will now be configured to connect to the internet.
Step 4: Set up your wireless network
If you want to set up a wireless network, go to the 'Wireless' tab on the main interface. Click on the 'Wireless Mode' button, then select the mode that you want to use for your network. You can choose from 'Bridge', 'Access Point', or 'Station'. Once you have selected your wireless mode, enter the network name (SSID) and password for your network. Click on the 'Apply' button to save your settings.
Step 5: Configure your firewall
The final step in configuring your Mikrotik router is to set up your firewall. Click on the 'IP' tab, then select the 'Firewall' option. Next, click on the 'NAT' tab, then click on the 'Add New' button. In the 'New NAT Rule' window, enter a name for your rule, then select the 'Chain' option from the drop-down menu. Next, select the 'SRC NAT' option from the 'Action' drop-down menu. Under the 'To Addresses' section, enter the IP address of your router's WAN interface. Click on the 'Apply' button to save your firewall settings.
Congratulations! You have now successfully configured your Mikrotik router for internet access and set up your network. Follow these simple steps to enjoy faster, more reliable internet access and better network performance.
Benefits of configuring your Mikrotik router
Configuring your Mikrotik router can provide a number of benefits and advantages to your network. These include:
- Increased network performance: By optimizing your router's settings, you can improve the speed and reliability of your network.
- Better security: Configuring your router's firewall and security settings can help to protect your network from unauthorized access and attacks.
- Improved network stability: A well-configured router can help to ensure that your network stays up and running, even during heavy usage.
Conclusion
Configuring your Mikrotik router is a crucial step in setting up your network for optimal performance. By following these simple steps and configuring your internet connection, wireless network, and firewall, you can enjoy faster, more reliable internet access and better network performance. Take the time to configure your router today and enjoy all of the many benefits it has to offer.


Post a Comment for "Securing Wireless Networks With MikroTik Router Best Practices"