Optimizing MikroTik Router For Efficient Proxy Services
MikroTik is a powerful and versatile router that can be used for a variety of networking tasks, including web proxy configuration. With a transparent proxy, you can route all of your web traffic through the router, allowing you to filter, cache, and monitor HTTP and HTTPS traffic to your network. In this post, we'll explore how to configure a transparent proxy in MikroTik, step by step.
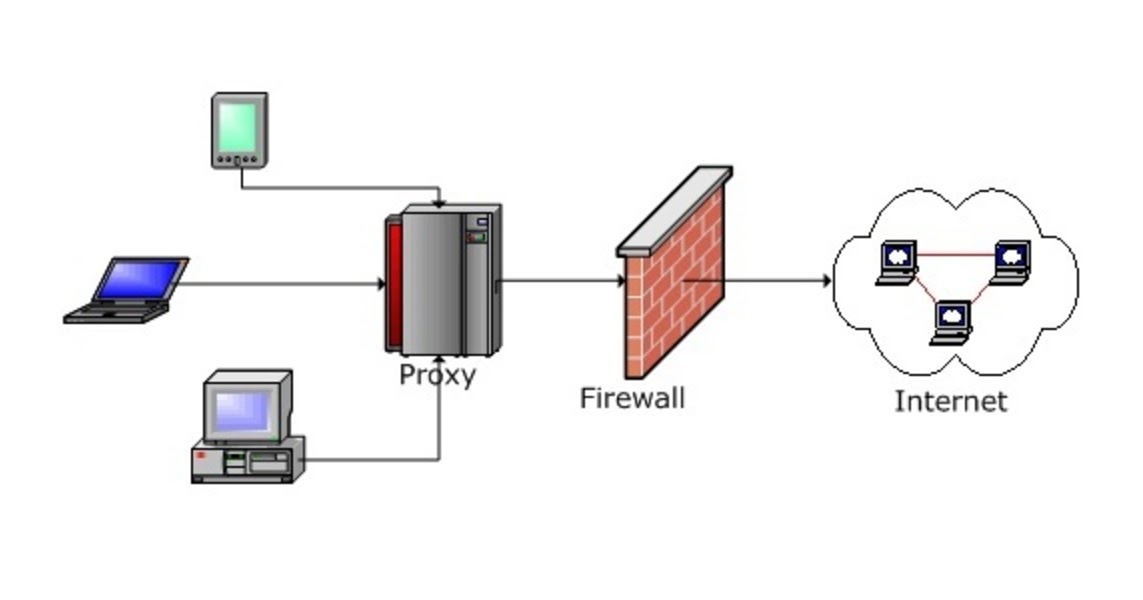
What is a transparent proxy?
A transparent proxy is a type of proxy server that intercepts and forwards all web traffic on a network without requiring any configuration on the client side. This means that all HTTP and HTTPS traffic can be filtered, monitored, and cached without any changes to the client's web browser or network settings. Transparent proxies are commonly used in corporate environments to enforce web usage policies and improve network performance.
Step-by-step guide to configure a transparent proxy in MikroTik
Here is a step-by-step guide to configuring a transparent proxy in MikroTik:
Step 1: Configure IP addresses
The first step is to configure the IP addresses of your MikroTik router. You will need at least two IP addresses: one for the router's WAN interface and one for the LAN interface. If you already have a working network, you can skip this step. Otherwise, you can use the following commands to configure your IP addresses:
/ip address add address=192.168.1.1/24 interface=ether1 /ip address add address=10.0.0.1/24 interface=ether2Replace ether1 and ether2 with the names of your router's WAN and LAN interfaces, respectively. The IP addresses 192.168.1.1/24 and 10.0.0.1/24 are just examples; you should use IP addresses that are appropriate for your network.
Step 2: Enable the proxy
The next step is to enable the proxy service on your MikroTik router. Use the following command to enable the proxy:
/ip proxy set enabled=yesStep 3: Configure the proxy cache size
The proxy cache size determines how much disk space is allocated to caching web pages. By default, the cache size is set to 256 MB, but you can change it to a larger or smaller size if you need to. Use the following command to set the cache size to 1 GB:
/ip proxy set cache-size=1GBStep 4: Redirect HTTP and HTTPS traffic to the proxy
Now that the proxy is enabled, you need to redirect all HTTP and HTTPS traffic to the proxy. Use the following command to do this:
/ip firewall nat add action=redirect chain=dstnat dst-port=80,443 protocol=tcp to-port=8080This command will redirect all HTTP and HTTPS traffic to port 8080, which is the default port used by the MikroTik proxy service.
Step 5: Add firewall rules to allow HTTP and HTTPS traffic
The previous step will redirect all HTTP and HTTPS traffic to the proxy port, but it won't allow the traffic to pass through the firewall. Use the following commands to allow HTTP and HTTPS traffic:
/ip firewall filter add chain=input src-address=0.0.0.0/0 protocol=tcp dst-port=80,443 action=accept place-before=0 /ip firewall filter add chain=forward src-address=0.0.0.0/0 protocol=tcp dst-port=80,443 action=accept place-before=0These commands will allow incoming and outgoing HTTP and HTTPS traffic to pass through the firewall.
Step 6: Test the configuration
Finally, you can test the configuration by opening a web browser on a client computer and trying to access a website. If everything is configured correctly, the web traffic should be redirected to the MikroTik router and the proxy should cache the web pages.
Conclusion
A transparent proxy is a powerful tool for filtering, monitoring, and caching web traffic on a network. With MikroTik, you can easily configure a transparent proxy and enjoy the benefits of a more secure and efficient network. By following the steps outlined in this post, you'll be able to set up a transparent proxy in no time.
If you have any questions or comments about configuring a transparent proxy in MikroTik, feel free to leave them below.


Post a Comment for "Optimizing MikroTik Router For Efficient Proxy Services"