Exploring MikroTik RouterOS VPN Setup Options A Deep Dive
Today, we are going to discuss how to integrate AWS Site-to-Site VPN with MikroTik RouterOS. Site-to-Site VPN is an essential service that enables secure remote access between different networks. With our step-by-step guide, you will be able to configure the site-to-site VPN in no time.
Explanation
Before we begin, let us explain a bit about AWS Site-to-Site VPN and MikroTik RouterOS. AWS Site-to-Site VPN is a managed VPN service that allows you to securely connect your on-premises network or branch office to your Amazon Virtual Private Cloud (Amazon VPC). MikroTik RouterOS, on the other hand, is a powerful software-based routing platform that provides various features such as routing, firewalling, hotspot, VPN, and more. MikroTik RouterOS also includes the ability to act as a VPN client or server.
Here are the steps to configure the Site-to-Site VPN with MikroTik RouterOS:
1. Create and configure the VPC
The first step is to create and configure your Amazon VPC. You can create a VPC using the AWS Management Console. Once created, you will need to configure the VPC by creating subnets, route tables, and security groups. Make sure that your VPC is configured with the correct CIDR block and routing information.
2. Create an Amazon VPN gateway
The second step is to create an Amazon VPN gateway. This can be done using the AWS Management Console. Once created, you will need to attach the VPN gateway to your VPC and configure the routing information.
3. Create a MikroTik RouterOS instance
The third step is to create a MikroTik RouterOS instance. You can do this by setting up a virtual machine (VM) on your on-premises network or branch office. Make sure that your MikroTik RouterOS instance is properly configured with the correct IP address, subnet mask, and gateway.
4. Configure the MikroTik RouterOS
The fourth step is to configure the MikroTik RouterOS as a VPN client. You can do this by creating a new VPN interface and configuring it with the correct settings, such as the remote IP address, preshared key, and authentication method. Once configured, you will need to attach the VPN interface to a new routing table.
5. Configure the AWS VPN connection
The fifth step is to configure the AWS VPN connection. You can do this using the AWS Management Console. You will need to specify the remote IP address, preshared key, and authentication method. Once configured, you will need to attach the VPN connection to the VPN gateway.
6. Test the connection
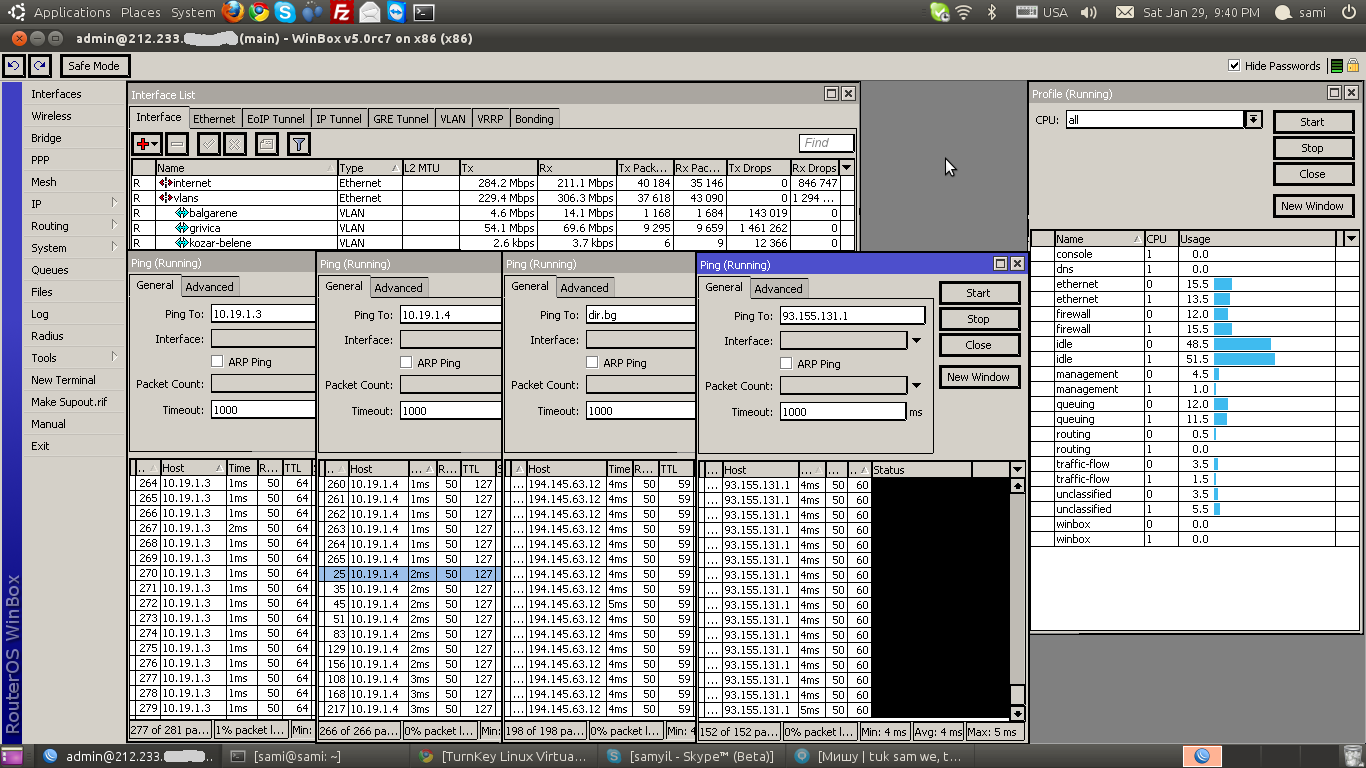
The final step is to test the connection. You can do this by pinging a device on the other network. If the ping is successful, then the site-to-site VPN has been successfully configured.
That's it! With these simple steps, you can configure AWS Site-to-Site VPN with MikroTik RouterOS. This will enable secure remote access between your on-premises network and your Amazon VPC. We hope this guide has been helpful.
Remember to follow best practices when configuring your Amazon VPC and MikroTik RouterOS instance. This will ensure that your site-to-site VPN is secure and performs optimally.
Thank you for reading!


Post a Comment for "Exploring MikroTik RouterOS VPN Setup Options A Deep Dive"