MikroTik Router Configuration A Step-by-Step Guide For Beginners
Are you looking for a reliable and flexible router for your home or business network? MikroTik Router can be a perfect choice for you. In this post, we will guide you on how to configure a MikroTik Router step by step. But first, let's see why MikroTik Router is a popular choice for network administrators.
Why Choose MikroTik Router?
- Flexibility: With MikroTik Router, you can build a customized network according to your needs.
- Reliability: With highly efficient hardware and software, MikroTik Router is a reliable option for your network.
- Security: With features such as firewall and VPN, MikroTik Router takes your network security seriously.
- Cost-Effective: Compared to other routers available in the market, MikroTik Router offers a cost-effective solution for your network needs.
Step by Step Guide to Configure MikroTik Router:
Step 1: Connect to the Router
The first step is to connect your computer to the MikroTik Router. You can do this via Ethernet cable or connect your computer wirelessly with the router's Wi-Fi network (if it has one).
Step 2: Access the Router's Web Interface
To configure the router, you need to access its web interface. Open a web browser and enter the IP address of the router's default gateway in the address bar. The default IP address for MikroTik Router is 192.168.88.1.
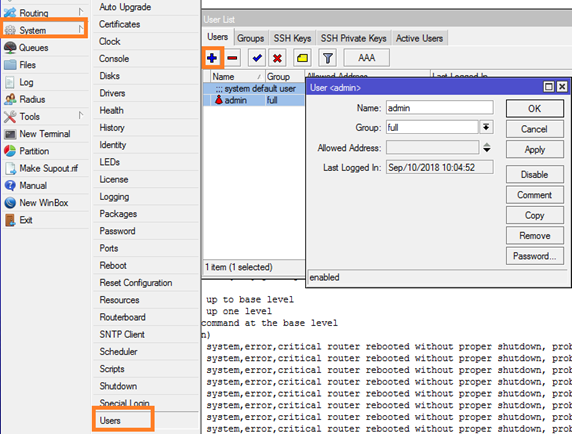
Step 3: Login to the Router
Once you've accessed the router's web interface, you'll be asked to enter a username and password. The default username and password for MikroTik Router are admin and blank, respectively.
Step 4: Configure Basic Settings
Once you've logged in to the router, the first thing you should do is configure the basic settings. These include setting the country in which the router is being used, setting the time zone, and enabling/disabling NTP (Network Time Protocol).
Step 5: Configure IP Addressing
The next step is to configure the IP addressing for your network. This includes assigning IP addresses to your connected devices, setting up DHCP (Dynamic Host Configuration Protocol) and configuring NAT (Network Address Translation).
Step 6: Set Up Wireless Network
If your MikroTik Router has wireless capability, you can set up a wireless network. This includes setting up a wireless password, creating a SSID (Service Set Identifier) and configuring the wireless channel and frequency.
Step 7: Configure Firewall and Security Settings
MikroTik Router comes with an inbuilt firewall that can be customized according to your network's requirements. You can configure firewall rules to allow or block traffic based on IP addresses, protocols, and ports. You can also configure VPN to secure your network traffic.
Step 8: Configure Advanced Settings
MikroTik Router offers advanced features such as hotspot, load balancing, and automatic failover. You can customize these settings based on your network's needs.
Step 9: Save and Exit
Once you've configured your MikroTik Router, don't forget to save the changes and exit the web interface. Your router is now ready to be used as per your network's requirements.
Now that you know how to configure your MikroTik Router step by step, you can enjoy the benefits of having a reliable and flexible network at your home or office. By conducting these configurations, you will be able to get the maximum potential out of your MikroTik Router. However, it's always recommended to keep your router's firmware and security settings updated to ensure that your network is always secure and stable.


Post a Comment for "MikroTik Router Configuration A Step-by-Step Guide For Beginners"