Implementing Content Filtering With MikroTik Proxy
If you are looking for the perfect way to configure your MikroTik for external proxy, then you are in the right place. This guide will provide you with all the necessary information to help you set up your MikroTik router for external proxy.
Step 1: Setting Up an External Proxy Server
The first step in setting up your MikroTik router for external proxy is to set up an external proxy server. There are various options available to set up an external proxy server, but the most popular and reliable one is Squid. Squid is a popular caching proxy server that supports HTTP, HTTPS, FTP, and other protocols. To set up Squid, you need to follow these steps:
- Download and install Squid on a server that has a public IP address.
- Configure Squid by editing the /etc/squid/squid.conf configuration file.
- Open port 3128 (the default Squid port) on the server's firewall to allow connections from the MikroTik router.
- Start Squid and make sure it is running properly.
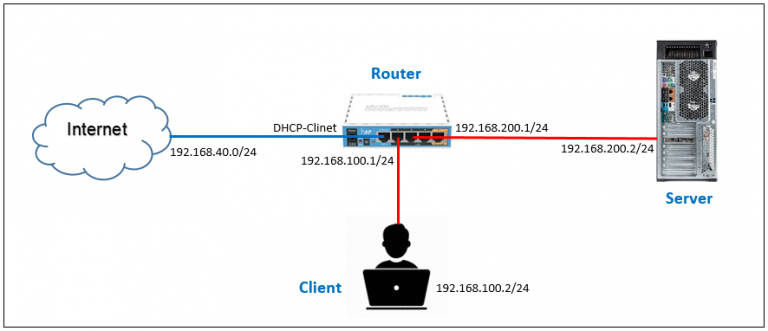
Step 2: Configuring the MikroTik Router
The next step is to configure the MikroTik router to use the external proxy server. To do this, you need to follow these steps:
- Log in to your MikroTik router using Winbox or the web interface.
- Click on IP > Proxy.
- Click on the General tab and enter the IP address and port of the Squid proxy server in the Proxy Server field (e.g., 192.168.1.100:3128).
- Click on the Advanced tab and enable the following options:
- Use Parent Proxy: No
- Proxy Requests: Yes
- Proxy HTTP Port: 3128 (unless you have changed the Squid port)
- Proxy HTTPS Port: 3128 (unless you have changed the Squid port)
- Proxy FTP Port: 3128 (unless you have changed the Squid port)
- Click on the OK button to save the changes.
Step 3: Testing the Setup
Once you have configured your MikroTik router and external proxy server, you need to test the setup to make sure it is working properly. To do this, follow these steps:
- Open your web browser and visit a website.
- Check the Squid logs to make sure that the MikroTik router is sending its requests to the proxy server.
- Verify that the website is being properly cached by Squid.
Conclusion
Now that you have set up your MikroTik router for external proxy, you can enjoy faster and more reliable internet access. Squid is a powerful caching proxy server that can help reduce bandwidth usage, speed up web browsing, and improve network security. By following the simple steps outlined in this guide, you can easily set up your MikroTik router to use an external proxy server.


Post a Comment for "Implementing Content Filtering With MikroTik Proxy"