Configuring MikroTik Router As A High-Speed Proxy Server
Are you looking to configure your Mikrotik router? Look no further than this comprehensive guide.
Explaining Mikrotik Router Configuration in Detail
Configuring a Mikrotik router is an essential step in setting up your network. Here are some of the key points to keep in mind while configuring the router:
1. Accessing the Router
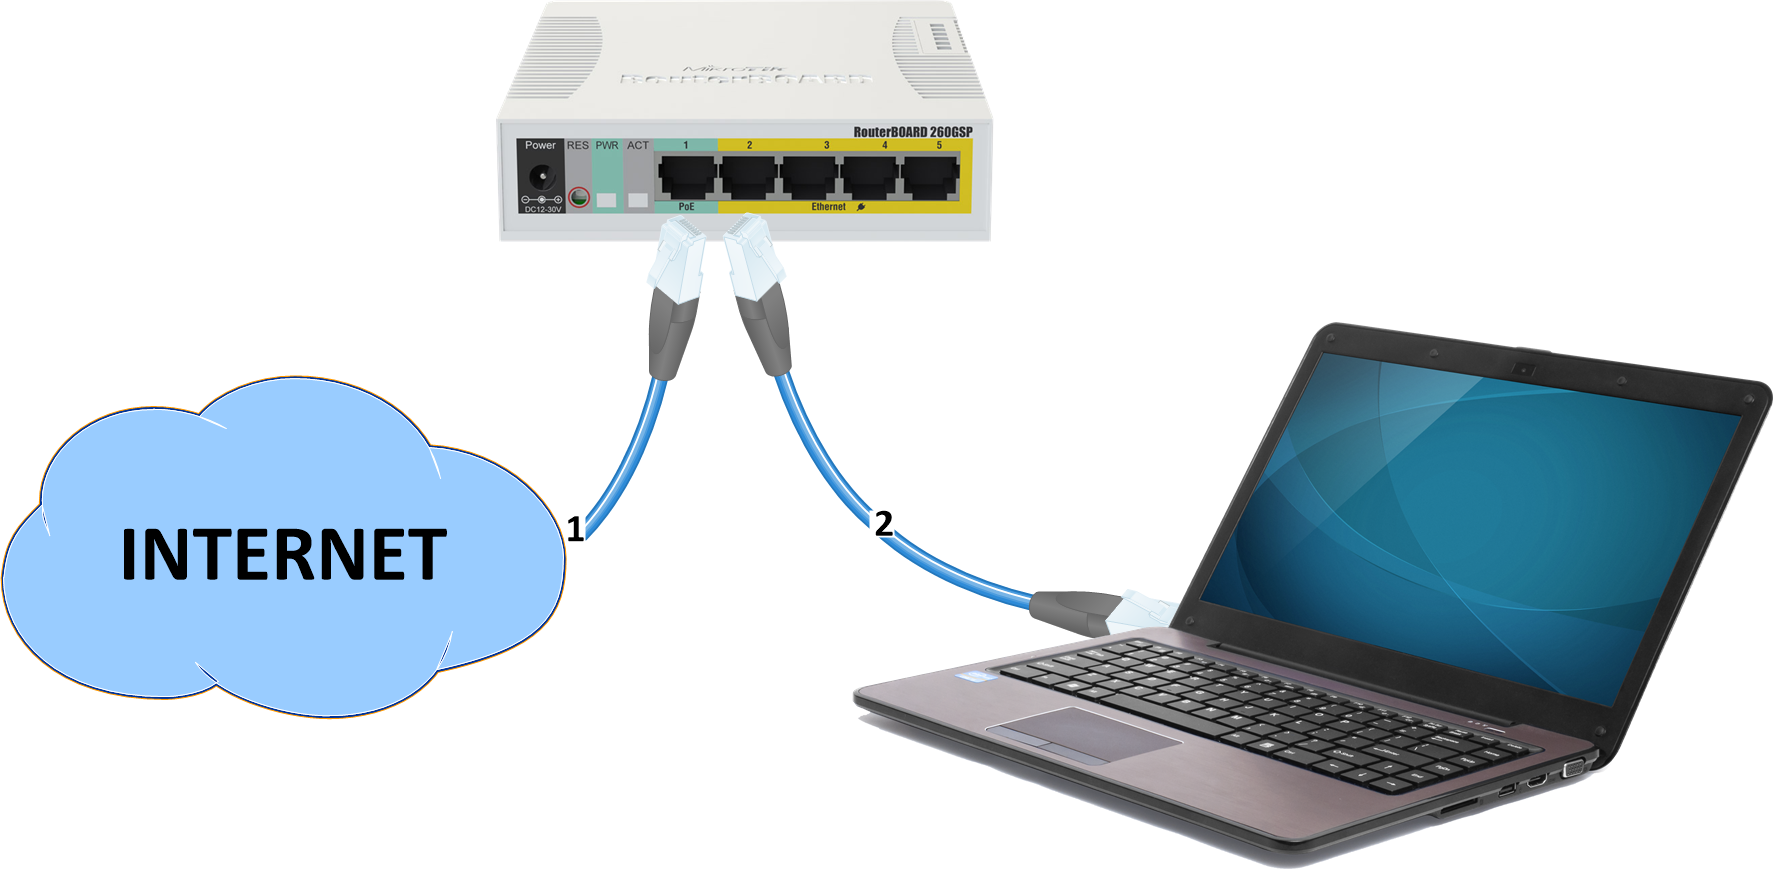
First and foremost, you need to access the router to configure it. To do this, you can open up a web browser and enter the IP address of the router in the address bar. By default, the IP address is set to 192.168.88.1.
2. Configuring the Basic Settings
Once you have accessed the router, you need to configure the basic settings. This includes setting the router's name, time zone, and password. You can do this from the "Quick Set" option in the router's main menu.
3. Configuring WLAN Settings
After configuring the basic settings, you can move on to configuring the WLAN settings. This includes setting the name, frequency, and security of your network. You can access these options from the "Wireless" option in the router's main menu.
4. Configuring DHCP
DHCP (Dynamic Host Configuration Protocol) is used to automatically assign IP addresses to devices on your network. You can configure DHCP settings from the "IP" option in the router's main menu.
5. Configuring Firewall Rules
A firewall is an essential component of any network, and you'll need to configure firewall rules to ensure that your network remains secure. You can access firewall options from the "Firewall" option in the router's main menu.
6. Configuring NAT
NAT (Network Address Translation) is used to translate private IP addresses into public IP addresses. You can configure NAT options from the "IP" option in the router's main menu.
7. Configuring VPN
If you require remote access to your network, you can configure VPN (Virtual Private Network) settings from the "PPP" option in the router's main menu.
8. Configuring Hotspot
If you want to provide Wi-Fi access to guests, you can configure hotspot settings from the "Hotspot" option in the router's main menu.
9. Configuring Queues
If you run a business where multiple devices are connected to the network, you can use queues to control bandwidth usage. You can configure queue options from the "Queue" option in the router's main menu.
10. Backing up the Configuration
Once you've configured your Mikrotik router, it's important to back up the configuration. This ensures that you can restore your configuration in the event of a hardware failure or other issue. You can back up your configuration from the "System" option in the router's main menu.
With these key points in mind, you should be well-equipped to configure your Mikrotik router. For more detailed guidance, we recommend consulting the official Mikrotik documentation. Happy configuring!


Post a Comment for "Configuring MikroTik Router As A High-Speed Proxy Server"