VoIP Network Configuration With MikroTik Routers A Complete Guide
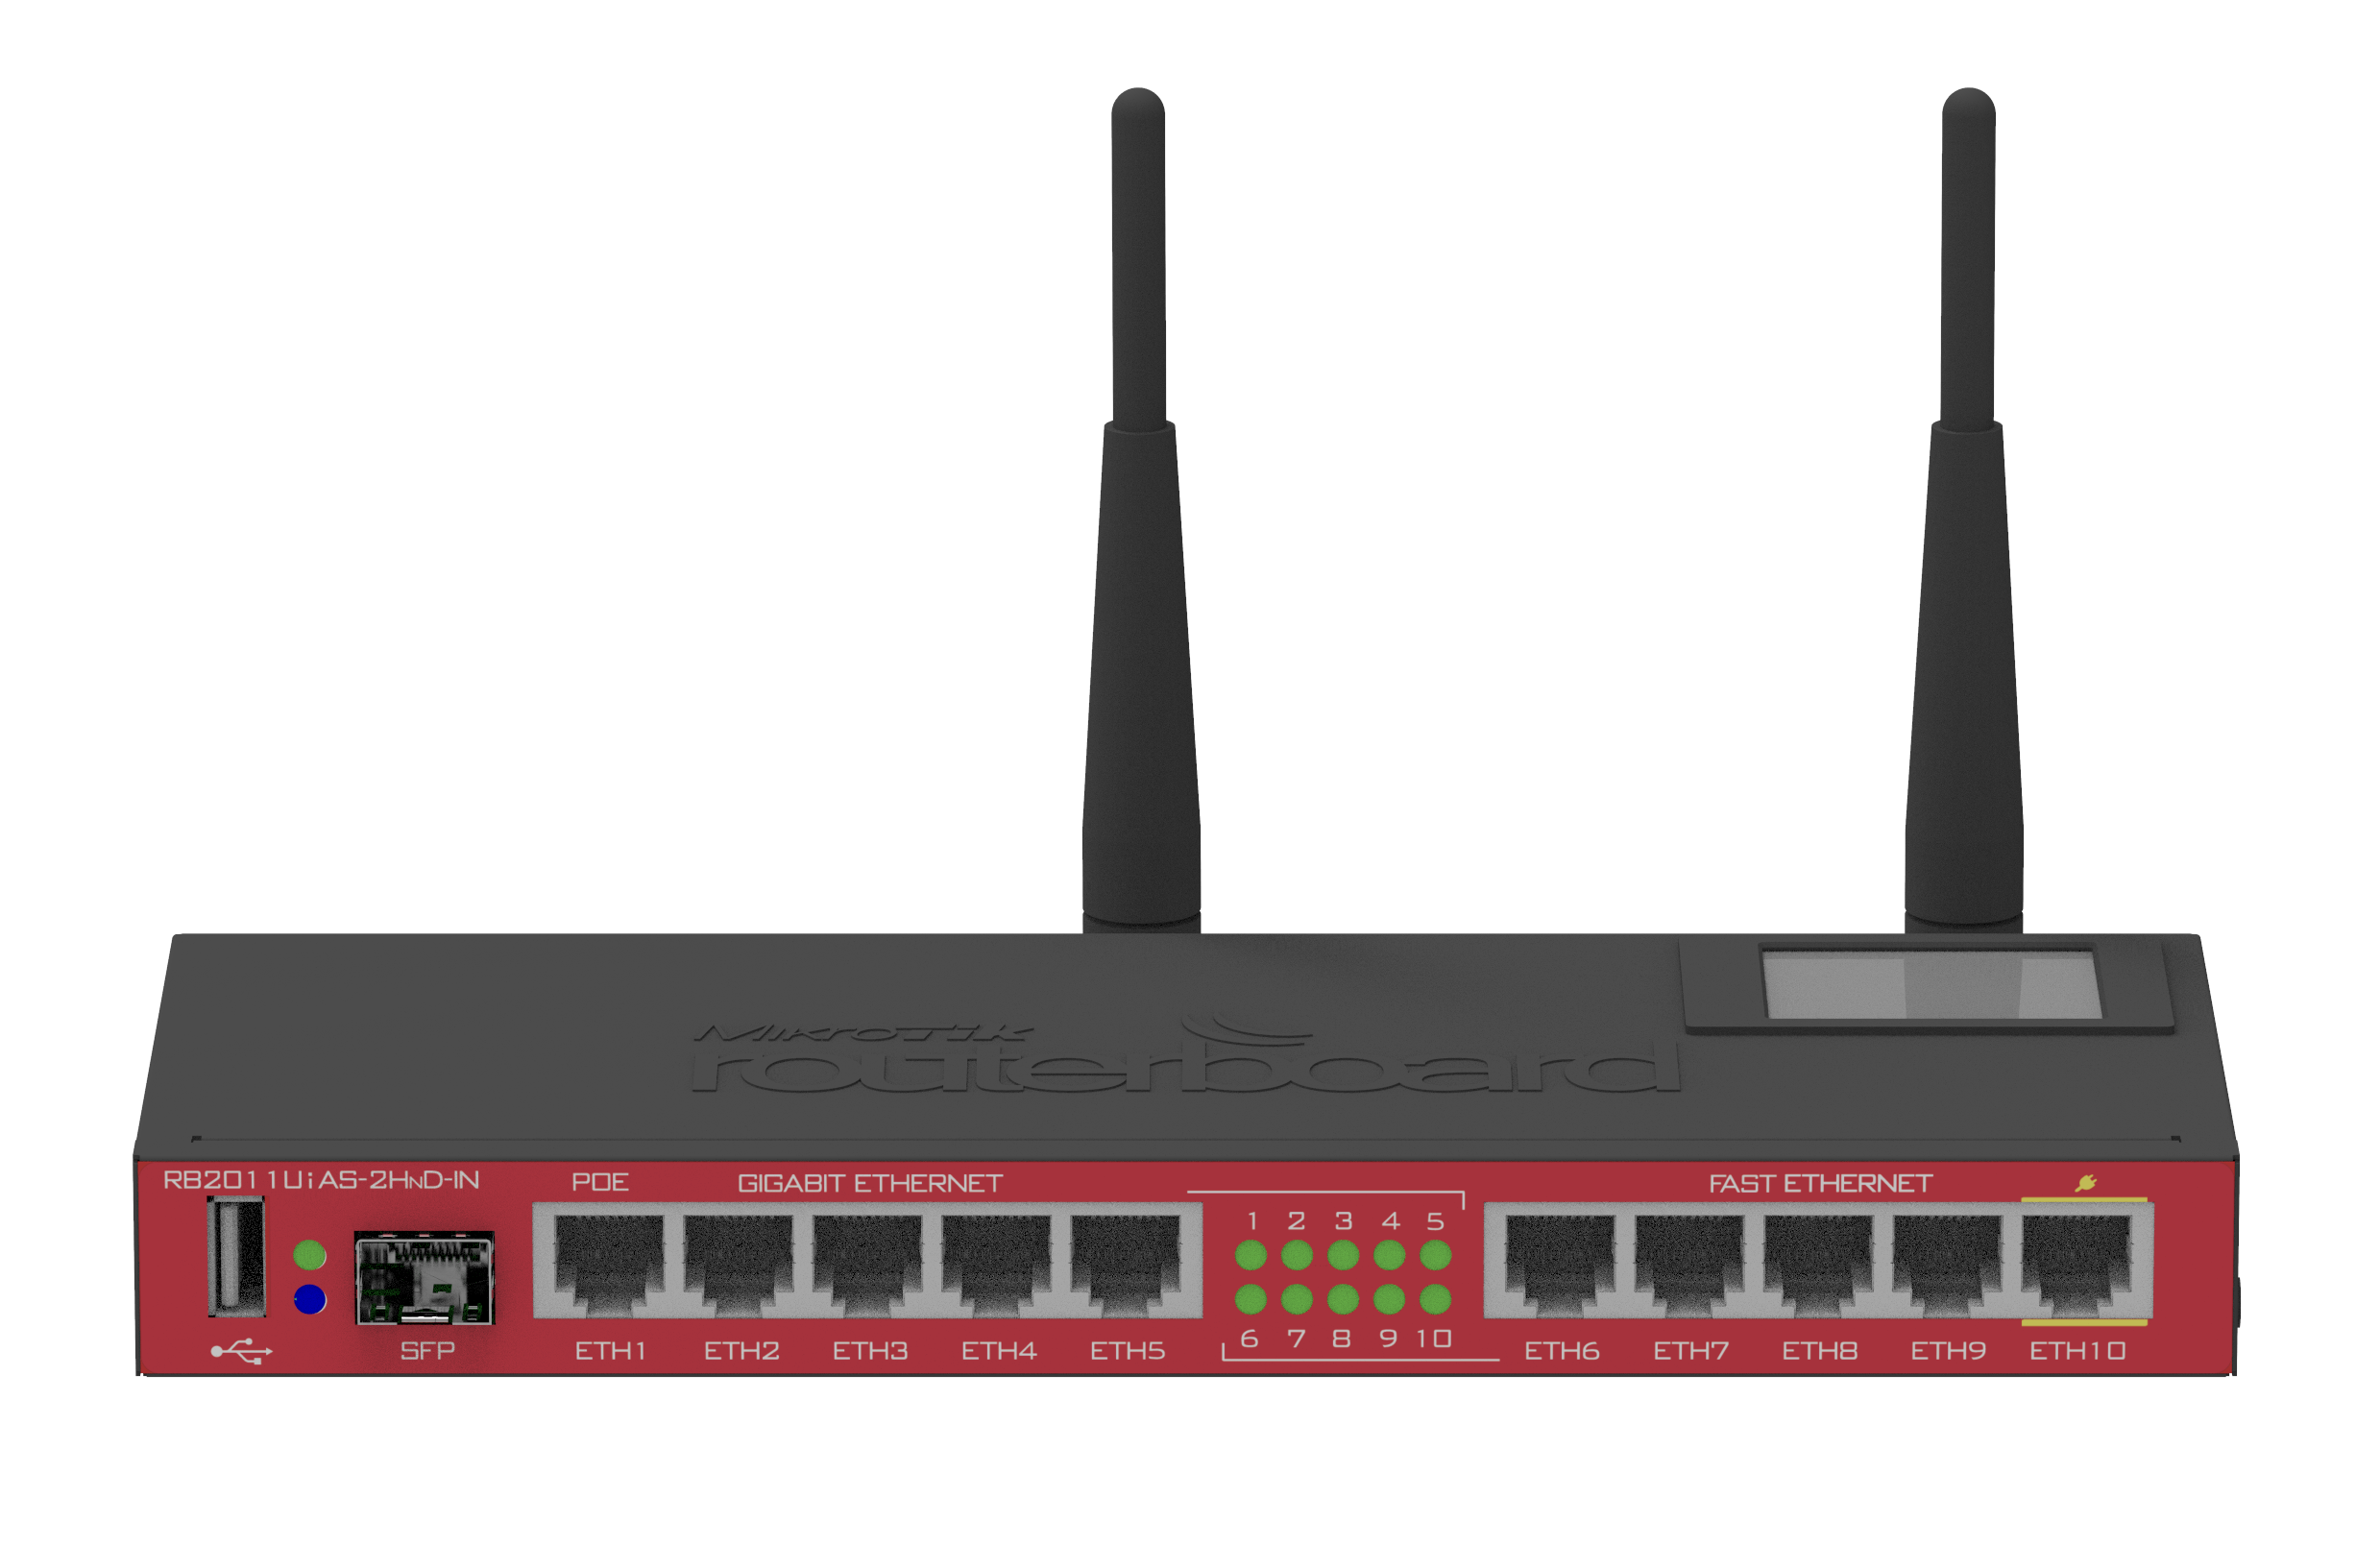
Have you been looking to improve your network security and management? Look no further than MikroTik routers! These versatile and affordable routers can help you control your network with ease. Here's a step-by-step guide on how to set up a basic IP address configuration on your MikroTik router.

Step 1: Connect your MikroTik router to your computer using an Ethernet cable. Make sure the router is powered on and the computer is connected to the network.
Step 2: Open your web browser and enter the IP address of your MikroTik router into the address bar. The default IP address is 192.168.88.1.
Step 3: Enter the default username and password for the MikroTik router. The default username is admin and the default password is blank. Click Login.
Step 4: Once you are logged into the MikroTik router, click on the IP tab and select Addresses. Here you will see the default IP address configuration for the router.
Step 5: To add a new IP address, click the + button. Enter the IP address, subnet mask, and interface name. Click Apply and OK.
Step 6: You can also set up a DHCP server on your MikroTik router to automatically assign IP addresses to computers on your network. Click on the IP tab and select DHCP Server. Click on the DHCP Setup button to configure your DHCP server.
Step 7: To configure firewall rules on your MikroTik router, click on the IP tab and select Firewall. Here you can add, edit, and remove firewall rules to control access to your network.
Step 8: You can also set up a virtual private network (VPN) on your MikroTik router to allow remote access to your network. Click on the PPP tab and select VPN. Click Add to create a new VPN profile.
Step 9: To configure Quality of Service (QoS) on your MikroTik router, click on the Queue tab. Here you can create queues to prioritize traffic and ensure that important applications receive the bandwidth they need.
Step 10: You can also set up wireless access points on your MikroTik router to provide wireless connectivity to devices on your network. Click on the Wireless tab and select the Access Points option. Click Add to create a new wireless access point.
As you can see, setting up a basic IP address configuration on your MikroTik router is simple and straightforward. With a little bit of configuration, you can take advantage of the many features and capabilities of these powerful routers to optimize the performance and security of your network. Try it out today!


Post a Comment for "VoIP Network Configuration With MikroTik Routers A Complete Guide"