Configuring MikroTik RouterOS VPN Advanced Settings And Configuration
Hey there, fellow techies! Are you ready to set up your very own VPN connection using the amazing Mikrotik RouterOS? Well, hold on to your hats, because we're about to dive deep into the wonderful world of virtual private networks!

First things first, what exactly is a VPN and why would you want to set one up? Well, a VPN is a way to connect to the internet securely and privately, which means your online activities are hidden from prying eyes and your sensitive information is protected from hackers. This is especially important if you're using public Wi-Fi hotspots or accessing online services that might be vulnerable to attacks.
So, without further ado, let's get started on setting up your very own VPN connection using Mikrotik RouterOS!
Step-by-Step Guide
Step 1: Install RouterOS
The first thing you need to do is to install RouterOS on your Mikrotik device. This is a simple process that can be done using the Winbox software. Once you've downloaded and installed Winbox, you can connect to your Mikrotik device and follow the prompts to install RouterOS.
Step 2: Configure Network Settings
Before we can set up a VPN connection, we need to make sure that the network settings on our Mikrotik device are configured correctly. This involves setting up a static IP address for your device and configuring the gateway and DNS settings. You can do this by navigating to the "IP" and "DNS" menus in RouterOS and following the prompts.
Step 3: Set Up VPN Server
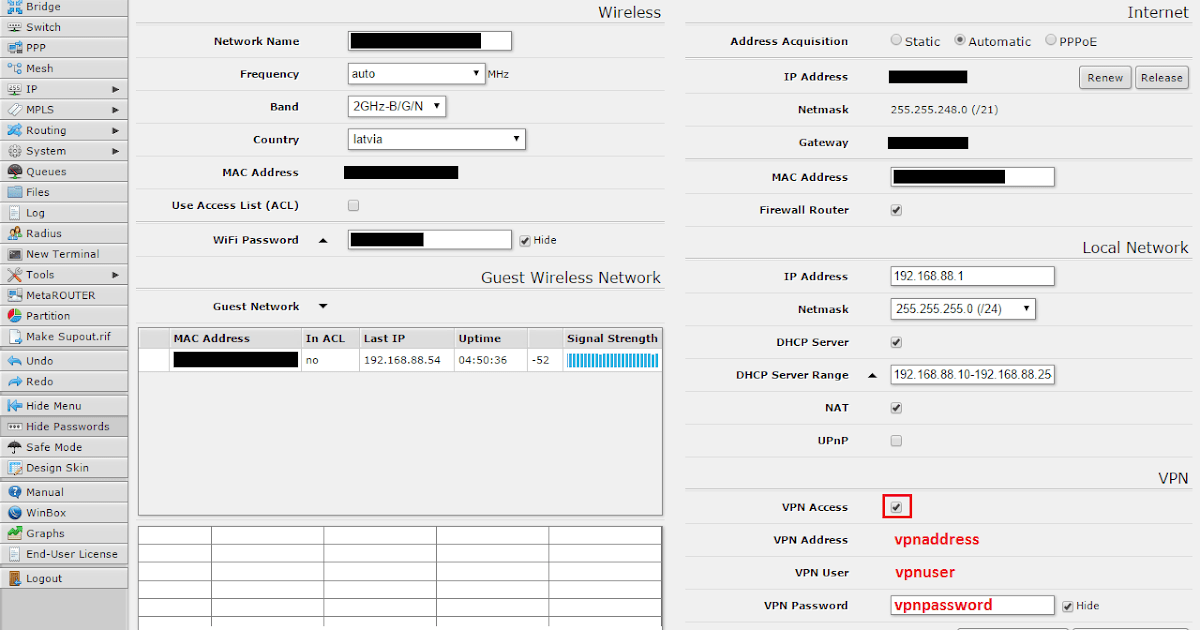
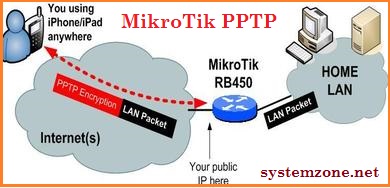
Now that our network settings are configured correctly, we can move on to setting up the VPN server. To do this, navigate to the "PPP" menu in RouterOS and select "Interface". From here, you can add a new "PPTP Server" interface and configure the necessary settings, such as authentication and encryption options.
Step 4: Create User Accounts
Once the VPN server is set up, we need to create user accounts for our VPN users. This can be done by navigating to the "PPP" menu in RouterOS and selecting "Secrets". From here, you can add new user accounts and assign them to the appropriate VPN server.
Step 5: Configure Firewall Rules
In order to make sure our VPN connection is secure and protected, we need to configure firewall rules that allow incoming VPN traffic and block all other incoming traffic. This can be done by navigating to the "IP" menu in RouterOS and selecting "Firewall". Here, you can add new rules and configure them accordingly.
Step 6: Set Up Client Devices
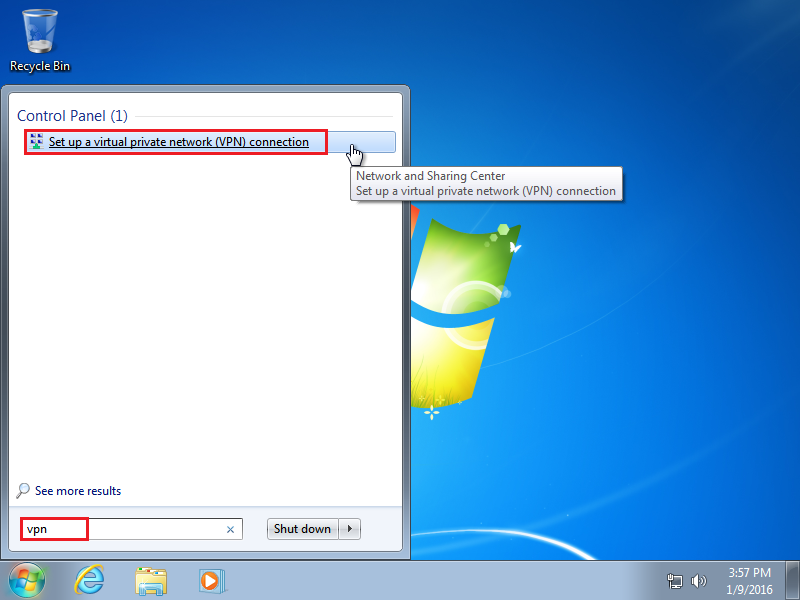
Finally, we need to configure our client devices to connect to the VPN server. This typically involves configuring the VPN client software on our devices, such as the built-in VPN client in Windows or using a third-party VPN client like OpenVPN. The exact steps involved will vary depending on the device and software you're using, so be sure to consult the appropriate documentation.
Conclusion
And that's it! With just a few simple steps, you can set up your very own VPN connection using Mikrotik RouterOS. This will help keep your online activities private and secure, and protect your sensitive information from hackers and other prying eyes. So what are you waiting for? Get started on setting up your VPN today!


Post a Comment for "Configuring MikroTik RouterOS VPN Advanced Settings And Configuration"