MikroTik Router Configuration For Guest Wi-Fi Networks
Do you want to access the internet using Mikrotik router and wonder how to configure it? Look no further because we got you covered in this step-by-step guide that will make the process easy and straightforward.
What is Mikrotik Router and What are its Benefits?
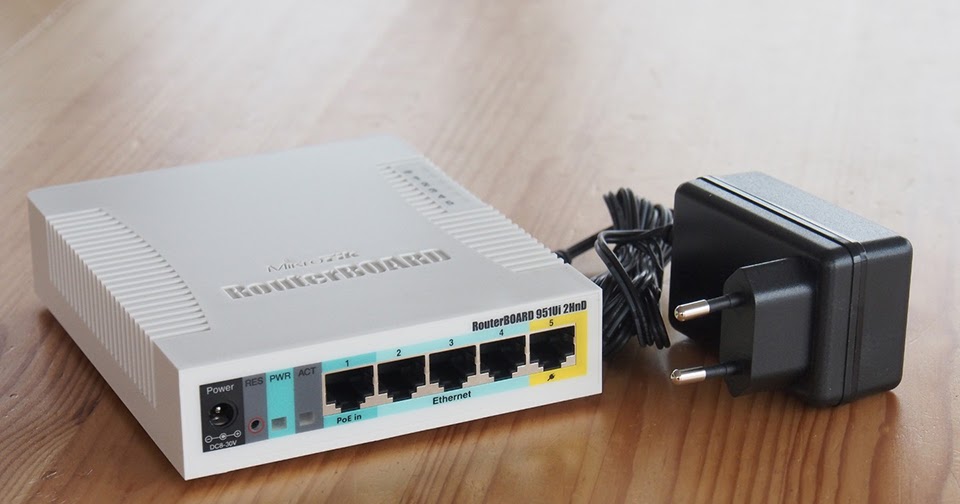
Mikrotik Router is a versatile device that helps you manage and control your internet connection in various ways. Its robust features make it ideal for setting up wireless networks in public spaces, large offices, or even homes.
The router's operating system, known as RouterOS, lets you set up firewall rules, create user accounts, and do traffic shaping. The router also supports various protocols such as IPSec, PPTP, L2TP, PPPoE, and many others.
Here are some of the benefits of using Mikrotik router:
- Cost-effective compared to other routers with similar features
- Easy to set up and manage
- Allows you to customize your network according to your needs
- Provides high speeds and reliable connectivity
How to Configure Mikrotik Router for Accessing the Internet
Before you set up your Mikrotik router, you need to ensure that you have the following:
- A working internet connection
- A computer or laptop
- An Ethernet cable
Once you have all the above requirements in place, follow the following steps to configure your Mikrotik router for accessing the internet:
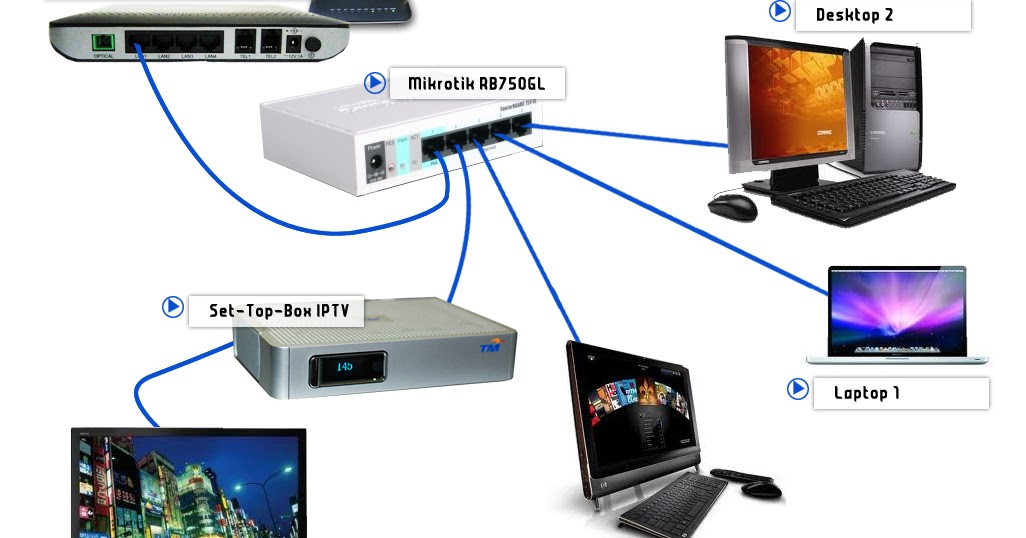
Step 1: Connect the Mikrotik Router to Your Laptop
Connect one end of the Ethernet cable to the Mikrotik router's LAN port and the other end to your laptop's Ethernet port. Ensure that both devices are powered on and working correctly.
Step 2: Access the Router's Web Interface
Open your preferred web browser and type in the default IP address of the Mikrotik router, which is usually 192.168.88.1. This will take you to the Mikrotik router's web interface login page.
Step 3: Enter Login Credentials
On the login page, enter the default login credentials of the Mikrotik router, which are:
- Username: admin
- Password: (leave it blank)
Once you have entered the login credentials, click on the "Login" button to gain access to the Mikrotik router's web interface dashboard.
Step 4: Configure the Router's WAN Port
From the Mikrotik router's web interface dashboard, navigate to "Interfaces," then click on the "WAN" tab. Here, you will see the WAN interface configuration page.
Click on the "Add New" button to create a new WAN configuration. On the configuration page, select the Ethernet port that you want to use for your WAN connection and fill in the details as follows:
- Name: WAN
- Type: DHCP Client
- Check Default Route
Click on the "Apply" button to save the WAN configuration.
Step 5: Configure the Router's LAN Port
Navigate to "Interfaces," then click on the "LAN" tab. Here, you will see the LAN interface configuration page.
Click on the "Add New" button to create a new LAN configuration. On the configuration page, fill in the details as follows:
- Name: LAN
- Type: Static
- IP Address: 192.168.1.1/24
Click on the "Apply" button to save the LAN configuration.
Step 6: Set Up DHCP Server
From the Mikrotik router's web interface dashboard, navigate to "IP," then click on the "DHCP Server" tab.
Click on the "Setup" button to create a new DHCP server configuration. On the configuration page, fill in the details as follows:
- Interface: LAN
- Address Pool: 192.168.1.2-192.168.1.254
- Gateway: 192.168.1.1
Click on the "Apply" button to save the DHCP server configuration.
Step 7: Configure NAT
From the Mikrotik router's web interface dashboard, navigate to "IP," then click on the "Firewall" tab. Here, you will see the NAT configuration page.
Click on the "Add New" button to create a new NAT configuration. On the configuration page, fill in the details as follows:
- Chain: srcnat
- Action: masquerade
- Out. Interface: WAN
Click on the "Apply" button to save the NAT configuration.
Step 8: Test the Internet Connection
You have now successfully configured your Mikrotik router for accessing the internet. To test the connection, open your preferred web browser and try accessing any website.
If the website opens without any issues, then your Mikrotik router is working correctly, and you can start surfing the internet.
Conclusion
Configuring Mikrotik router for accessing the internet is a simple process that requires a few steps. By following the above guide, you can easily set up your Mikrotik router and enjoy fast and reliable internet connectivity. Feel free to customize your configuration to meet your specific network needs.


Post a Comment for "MikroTik Router Configuration For Guest Wi-Fi Networks"