Configuring MikroTik Router As A Reverse Proxy Step-by-Step Implementation Guide
If you are seeking to configure a Mikrotik router, there are a few important things to keep in mind. Thankfully, the process is straightforward and customizable, with a range of configuration options available for your consideration. With a little bit of patience, you can personalize your router's settings to suit your specific networking needs!
1. Access the Router's Configuration Page
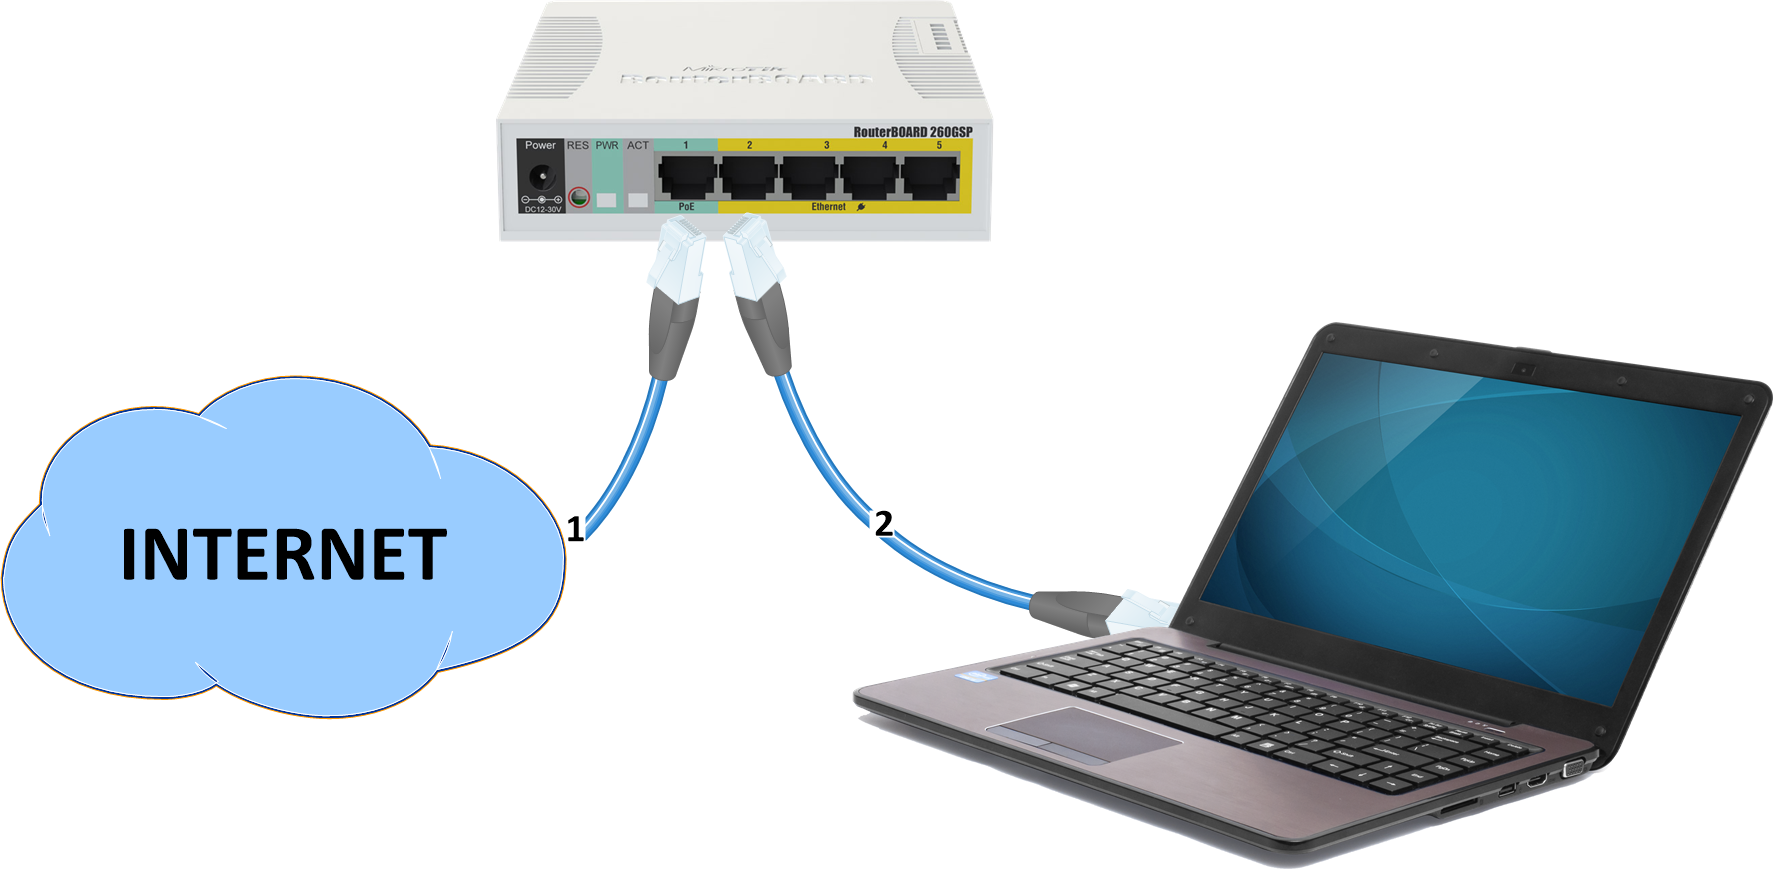
The first step in configuring your Mikrotik router is accessing the router's configuration page. You will need to connect to your router by entering your router's IP address into your browser window. Once you enter the IP address and hit enter, you will be prompted to enter the default login credentials (typically "admin" for both the username and password).
2. Basic Configuration
When you first access the configuration page for your Mikrotik router, you will be presented with a range of options to choose from. The most basic configuration options you will need to consider include setting up the wireless network name (SSID) and password. Additionally, you may wish to configure your router's administrative password. This can be done through the "System" section of the configuration page.
3. Advanced Configuration Options
Beyond the basic setup options, there are a range of additional configuration options you can explore to customize your Mikrotik router's settings. Some of the most popular advanced configuration options include:
a. Firewall Configuration
If you want to limit access to your network, you can make use of the firewall configuration options on your Mikrotik router. With firewall configuration, you can block certain types of traffic from entering your network and prevent unauthorized access.
b. VPN Configuration
Mikrotik routers offer a range of VPN configuration options, allowing you to establish a secure link between your remote device and your home network. With VPN configuration, you can access your network safely and securely from anywhere in the world.
c. QoS Configuration
If you want to prioritize traffic on your home network, you can use Quality of Service (QoS) configuration. With QoS configuration, you can allocate network bandwidth according to your needs, ensuring that your most important network traffic (such as video calls or streaming video) receives priority treatment.
d. Guest Network Configuration
Mikrotik routers also offer the ability to set up a guest network, allowing you to separate your primary network from your guests' devices. This can be particularly useful if you want to prevent guests from accessing your home network's sensitive files and information.
4. Regular Updates and Maintenance
Once you have configured your Mikrotik router to your requirements, it is important to perform regular updates and maintenance to ensure that your router continues to operate effectively. Regular updates can help to fix software bugs and security vulnerabilities, preventing unauthorized access to your network.
Additionally, it is important to protect your network with a strong password and keep an eye on your network activity. You may want to consider setting up a system to alert you if anyone tries to access your network without authorization. This can help to prevent security breaches and ensure that your data remains safe.
In conclusion, configuring a Mikrotik router may seem intimidating, but with the right guidance, it needn't be. By following the steps outlined above and taking the time to explore the various configuration options available, you can create a customized network setup that meets all your needs. Don't forget to perform regular updates and maintenance to ensure that your network remains safe and secure!


Post a Comment for "Configuring MikroTik Router As A Reverse Proxy Step-by-Step Implementation Guide"